Halloween Makeup Skin Prep for Beginners: How to Prepare Your Skin
October 14, 2026
By the AvaFitCare Beauty Team · Last updated: October 14, 2026
If you’re planning a Halloween look — whether it’s full face paint, a dramatic makeup character, or just a bit of extra color — the biggest mistake isn’t choosing the wrong products. It’s skipping skin prep altogether and finding out halfway through the night that your makeup is sliding, flaking, or making your skin react. The good news: you don’t need a long or expensive routine to prep your skin for Halloween makeup. A simple, consistent routine — cleanse, treat (if you already use a prescribed or routine treatment), moisturize, protect with sunscreen when appropriate, then apply makeup — is enough for most people.
with a gentle, non-stripping cleanser and pat skin dry.
2
Apply any existing treatment
you already use (for example, a prescribed acne or rosacea treatment) exactly as your dermatologist or the product instructions direct. This is not the time to start something new.
3
Moisturize
with a product suited to your skin type, even if your skin is oily.
4
Apply daytime sunscreen
if your Halloween activities — trick-or-treating, a parade, a daytime party — happen while the sun is out.
5
Let each layer absorb
— until skin no longer feels wet or tacky — before moving to the next step, then apply makeup or face paint.
That’s the full routine. There’s no special “Halloween” product most people need to add — the goal is simply a clean, adequately moisturized, protected base that makeup can sit on without pilling, dragging, or irritating the skin underneath.
Step-by-Step: Prepping Your Skin in the Right Order
The order above matters more than how many products you use — applying things out of order is one common reason makeup can look patchy or not last as long as you’d like. A few notes on why each step matters:
Cleanse with something gentle. A cleanser that leaves skin feeling tight or stripped can make skin more reactive to makeup later. If you don’t already have a go-to gentle cleanser, our gentle cleansers for beginners guide can help you pick one.
Keep using any prescribed treatment on your normal schedule, and don’t start a new retinoid, acid, or exfoliating treatment for the first time right before the event — new products are more likely to cause irritation in the days right after you start them.
Give moisturizer and sunscreen time to absorb before the next step. Some broad-spectrum SPF moisturizers combine both into one product.
Primer is optional and not a required step — more on what it actually does below.
Prepping Dry Skin for Halloween Makeup
Dry skin is more likely to show makeup settling into fine lines or flaking as the base dries out. A few adjustments help:
Use a richer, more emollient moisturizer than you might use in summer, and give it time to fully sink in before applying anything else.
Use a gentle cleanser that doesn’t leave your skin feeling tight or stripped right after rinsing — that tightness is a sign a cleanser may be too harsh for dry skin, whatever its specific ingredient list looks like.
Skip any new exfoliating step the same day — exfoliating dry, already-sensitive skin right before heavy makeup increases the chance of irritation and flaking, not decreases it.
If your moisturizer alone isn’t enough and skin still feels tight, a thin layer of a bland, fragrance-free facial oil or balm under moisturizer (applied well before makeup, with time to absorb) can help — but test anything new beforehand rather than trying it for the first time on the night.
Prepping Oily or Acne-Prone Skin for Halloween Makeup
Two habits are worth rethinking if your skin is oily or acne-prone: cleansing too aggressively, and skipping moisturizer altogether.
Cleanse gently, not aggressively. Scrubbing, astringents, and rubbing alcohol can irritate oily skin, and irritated, over-dried skin may respond by producing more oil, not less. A mild, non-stripping cleanser applied with fingertips is less likely to start that cycle.
Moisturize based on how your skin actually feels, not a blanket rule. If your skin is dry, tight, or dried out by an acne treatment, a moisturizer generally helps — often a lightweight or oil-free formula rather than a heavy cream, though the exact texture that works best still comes down to your own skin. There’s no single moisturizer that’s right for every oily or acne-prone reader.
Oil-free and non-comedogenic labels can help narrow the search — they’re a useful signal, not a guarantee, so trust your own history with a product over the label.
If you already use an acne treatment (such as benzoyl peroxide, salicylic acid, or a prescribed retinoid), keep using it on your normal schedule.
Keep makeup brushes and sponges clean, apply with a light hand rather than heavy layering, and remove all makeup thoroughly before bed — leaving makeup on overnight is one of the more avoidable contributors to post-Halloween breakouts.
Sensitive skin needs the same basic order — cleanse, moisturize, sunscreen when relevant, then makeup — but with more attention to what’s in each product:
Choose fragrance-free formulas where possible, since added fragrance is one of the more common triggers for irritation in sensitive skin; dye-free formulas can help too, though dyes trigger reactions less consistently than fragrance does.
Test any new cleanser, moisturizer, sunscreen, primer, or makeup product on a small area before the event, not for the first time on Halloween night.
Avoid layering multiple new products at once. If several items in your routine are new, it’s harder to tell which one caused a reaction if your skin gets irritated.
Do not apply makeup or face paint over skin that is visibly irritated, broken, or compromised — for example, over active eczema flares, open blemishes, cuts, or sunburned skin. Treat the skin issue first, or adjust the look to avoid that area.
Moisturizer, Primer, and Sunscreen: Do You Need All Three?
Short answer: moisturizer and sunscreen (when it’s daytime) are the steps worth prioritizing; primer is optional.
Moisturizer is useful for every skin type, including oily and acne-prone skin, because it helps keep the skin barrier from drying out — a dry, irritated barrier is more likely to react poorly to makeup sitting on top of it. If you’re not sure which formula suits your skin, see our guide to choosing a moisturizer for your skin type.
Sunscreen should not be skipped just because you’re planning to wear makeup over it. If your event includes daylight hours, apply broad-spectrum sunscreen after moisturizer and before makeup, the same as you would on a normal day. See our EltaMD UV Clear SPF 46 review if you’re looking at options for a lightweight daily sunscreen that can sit under makeup.
Primer is a “nice to have,” not a requirement. Some people find it helps certain formulas sit more evenly or last a little longer, though the effect varies by product and skin type, and plenty of people get a perfectly good look without it. If you skip it, your routine is still complete as long as you’ve cleansed, moisturized, and protected with sunscreen when appropriate.
Products to Consider for Your Skin-Prep Routine
You don’t need these specific products — almost any gentle cleanser, suitable moisturizer, and daytime sunscreen works for this routine. If you’d rather start from something specific, two options we’ve researched in depth elsewhere on the site:
CeraVe Hydrating Facial Cleanser — a fragrance-free, ceramide-and-hyaluronic-acid cleanser positioned for normal to dry skin. Because it’s formulated for normal-to-dry skin specifically, people with very oily skin may prefer a gel or foaming cleanser instead.
For a standalone daytime sunscreen, see the EltaMD UV Clear SPF 46 review linked above. We haven’t added a primer recommendation here — primer stays optional throughout this guide, and we only link to products we’ve researched and verified directly.
Why Makeup Pills or Flakes — and How to Avoid It
Pilling happens when product forms small flakes or clumps instead of sitting smoothly on the skin. It can have more than one cause, and it’s rarely down to a single “bad” product — more often it’s some combination of the following:
Not giving products time to absorb. Moisturizer, sunscreen, and primer generally need some time to settle before the next layer goes on top.
Mixing formulas that don’t play well together — for example, a silicone-heavy primer applied over a product that hasn’t fully absorbed, or too many textured products layered in one small area.
Rubbing rather than pressing makeup into skin. Pressing a product in with a sponge or fingertip tends to cause less pilling than dragging a brush back and forth over the same spot.
Using too much product at once. Thin layers, built up gradually, pill less than one heavy layer.
Dry, flaky skin underneath. If skin has dry patches, makeup will often cling to and emphasize them rather than smoothing over them — which is another reason moisturizer matters, especially for dry skin.
If you notice flaky patches during prep, it’s generally better to address them with moisturizer and a little extra absorption time than to try to cover them with more makeup, which can make the texture more visible rather than less.
Should You Exfoliate Before Halloween Makeup?
If exfoliation is already a normal, well-tolerated part of your routine, there’s generally no need to stop just because you’re wearing makeup that day — but the days right before Halloween are not the time to try a new exfoliating product, a stronger acid, a scrub, or a peel for the first time. New exfoliating products and routines commonly cause temporary redness, dryness, or sensitivity, and that’s the opposite of what you want right before applying a full face of makeup or face paint. If your skin is at all irritated, red, or flaking from a recent treatment, let it calm down before applying heavy makeup rather than trying to cover the irritation.
Face Paint: Does It Need Different Skin Prep?
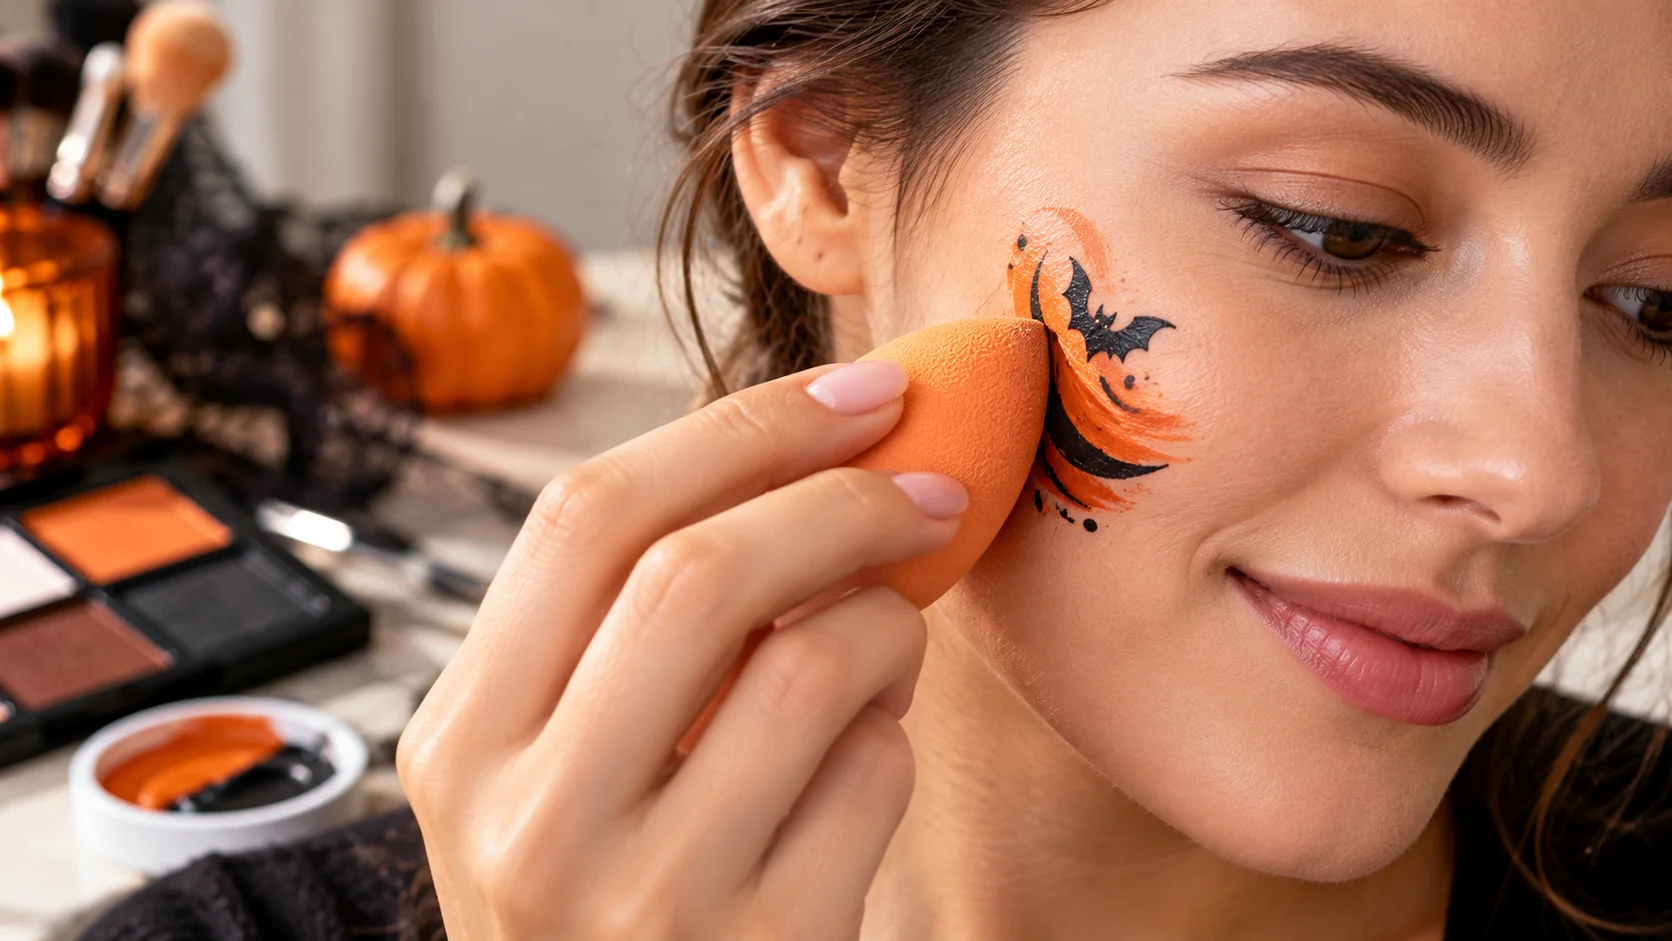
The underlying prep — cleanse, moisturize, sunscreen if it’s daytime — is the same for face paint as it is for conventional makeup. A few things are specific to face paint, though, and often get missed in generic makeup-prep advice:
Follow the specific product’s instructions over generic tips whenever the two conflict — face paint formulas vary (water-based, oil/grease-based, cream), and the manufacturer’s directions for application, wear time, and removal are written for that exact formula.
Face paint often covers a larger surface area and stays on longer than typical makeup, so a well-absorbed moisturizer layer underneath may matter even more than it does for a smaller, lighter look.
Oil-based or grease-based face paints can be heavier and may need a different removal approach (sometimes an oil-based remover or balm first) than water-based formulas — check the product’s own instructions rather than assuming your usual makeup remover will work the same way.
Because face paint is applied over a larger area, a patch test may matter just as much — if not more — than it does for a small amount of eyeshadow or lipstick.
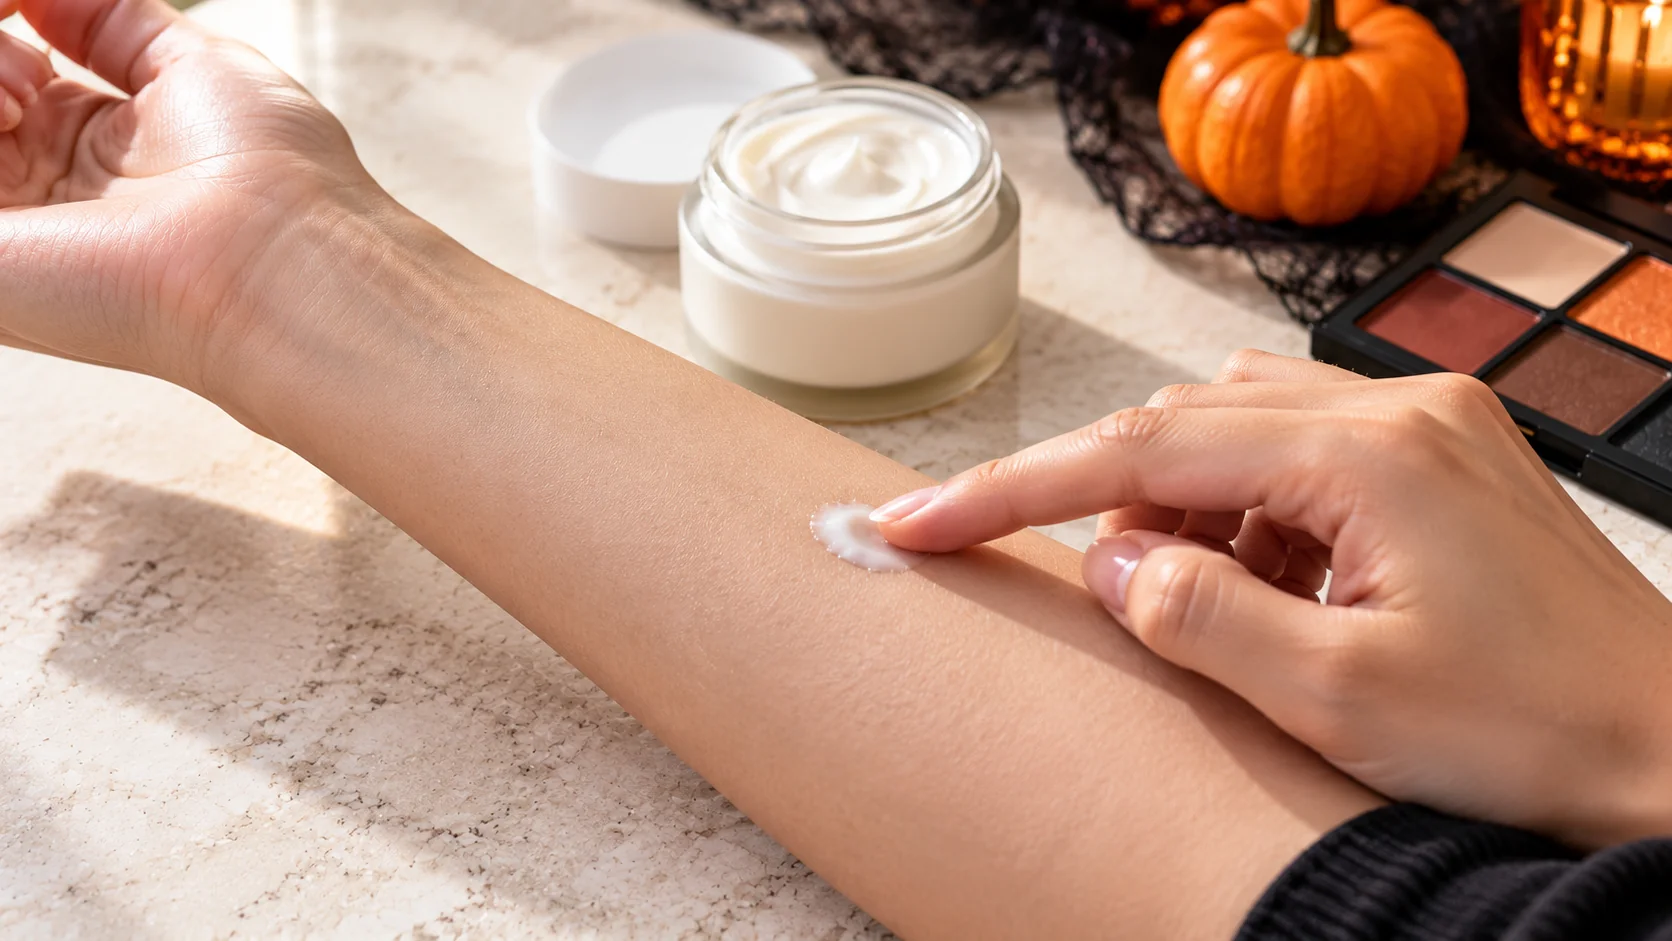
Testing New Makeup or Face Paint Before the Big Night
There’s no single universal “test it X days ahead” rule that applies to every product. Baylor College of Medicine’s own Halloween-specific guidance recommends a patch test roughly 24–48 hours before applying your full look, mainly to catch a straightforward allergic reaction before the event. Beyond that window, follow whatever testing instructions came with the specific product you’re using, since formulas and manufacturer recommendations vary.
Whatever timeframe you use, test ahead of the event, not for the first time on Halloween night. Testing ahead of time gives you a chance to see a reaction and switch products if needed, instead of discovering an issue for the first time when you’re already dressed and out the door. Keep in mind that a patch test lowers risk but doesn’t rule out every possible reaction — some sensitivities take longer than any short test window to show up.
What to Avoid Right Before Halloween
Don’t start a new skincare treatment for the first time — a new retinoid, acid, peel, or scrub — in the days right before the event.
Don’t stop a prescribed medication or treatment just to “let your skin rest” before makeup. Keep following your dermatologist’s instructions.
Don’t skip sunscreen just because you’re also wearing makeup, if your Halloween plans involve daylight hours.
Don’t test new products for the first time on the night of the event. Test ahead of time instead.
Don’t apply makeup or face paint over visibly irritated, broken, or compromised skin — treat the issue first, or adjust the look to avoid that area.
Don’t assume a routine guarantees a specific result. Good prep improves your odds of a comfortable, longer-lasting look, but it can’t promise flawless makeup or an exact wear time — that depends on the specific products, your skin, and conditions on the night.
Most of these are the same slip-ups that cause everyday makeup problems, not just Halloween-specific ones — see our roundup of common skincare mistakes beginners make if you want the fuller, year-round list.
Planning Ahead for Removal
Good prep makes application easier, but how you remove makeup afterward matters just as much for your skin. Whatever you wear, plan to remove it gently rather than scrubbing it off, and follow up with a cleanser suited to your skin — our gentle cleansers for beginners guide covers options that work well for post-makeup cleansing. We’ll cover full Halloween makeup removal — including face paint — in more detail in a dedicated guide.
Frequently Asked Questions
No. The same basic routine that works for everyday makeup — gentle cleanser, moisturizer, sunscreen when it’s daytime — works for Halloween. You don’t need extra or different products just because it’s a holiday.
Cleanse, then any existing treatment, then moisturizer, then sunscreen if it’s daytime, then primer if you’re using one, then makeup. Let each layer absorb before the next.
Only if exfoliation is already a normal part of your routine and your skin tolerates it well. Don’t try a new exfoliating product, scrub, acid, or peel for the first time right before the event.
No, primer is optional. Some people find it helps certain looks sit more evenly or last a bit longer, though results vary by product and skin type, and skipping it won’t ruin your makeup as long as the rest of your prep — cleanser, moisturizer, sunscreen when relevant — is in place.
Pilling can have several causes — layering products before they’ve absorbed, mixing formulas that don’t work well together, rubbing rather than pressing product in, using too much at once, or applying over dry, flaky skin. Giving each step time to settle and applying thin layers helps.
Yes, if any part of your Halloween activities happen during daylight. Apply sunscreen after moisturizer and before your face paint or makeup, the same as on any other day.
There’s no single universal timeframe. Baylor College of Medicine’s Halloween-specific guidance suggests about 24–48 hours before your full look; beyond that, follow the specific product’s own testing instructions. Either way, test ahead of the event, not for the first time on the night you plan to wear it.
The basic steps are the same, but check the specific face paint product’s own instructions, since formulas (water-based, oil-based, cream) vary in how they’re applied and removed. Patch testing may matter just as much, if not more, since face paint often covers a larger area.
Final Day-Of Checklist
Cleanse with a gentle cleanser.
Apply any existing prescribed or routine treatment as usual.
Moisturize and let it absorb.
Apply sunscreen if any part of the day is in daylight.
Apply primer, only if you want to.
Confirm any new product was already tested ahead of time — not tonight for the first time.
Check that skin isn’t visibly irritated, broken, or compromised before applying makeup or face paint over it.
Apply makeup or face paint, following the specific product’s instructions where they differ from general tips.
Plan for gentle removal afterward rather than scrubbing it off.
This article is for general educational purposes and is not a substitute for personalized medical advice. If you have a persistent skin condition, a known allergy, or a reaction that doesn’t resolve, talk to a dermatologist or healthcare provider.