Easy Halloween Makeup for Beginners: 5 Simple Looks You Can Do at Home
October 6, 2026
Halloween makeup doesn’t have to mean a trip to the costume store or a cart full of new products. If you can hold an eyeliner pencil and follow five steps at a time, you can put together a convincing cat, vampire, witch, skeleton, or clown look using things you probably already have in your makeup bag — plus a few optional extras if you want to go further.
This guide is built for total beginners. Every look below tells you exactly what you need, walks through the steps in order, flags the most common beginner mistake, and gives you one optional upgrade if you want to take it further. If you’d rather skip the “do it yourself” approach and just want product recommendations across every Halloween look, our Halloween makeup products for beginners guide covers that in more depth. And if you’re here for everyday makeup basics rather than a costume look, our Makeup for Beginners guide is the better starting point.
Here’s how the five looks in this guide compare before you pick one.
Look
Difficulty
Main Makeup Needed
Face Paint Needed?
Best For
Cat
Very Easy
Eyeliner + makeup you likely already own
No — optional accent only
First-timers and last-minute costumes
Vampire
Easy
Dark lip color, dark eye look, eyeliner
No
Anyone who already owns dark eye or lip makeup
Witch
Easy–Moderate
Dark eye/lip or a few bold eyeshadow shades
Optional — small accent only
Readers who want a choice between two different styles
Skeleton
Moderate
Full-face paint base + eyeliner for detail
Yes
Readers willing to do a full painted look
Clown
Moderate
Bright eyeshadow/blush + a bold lip
Optional — accent only
A playful, colorful costume without horror makeup
Before You Start: Check What You Already Own
Before you buy anything new, take two minutes to go through what’s already in your makeup bag. A black eyeliner, a dark lipstick or lip liner, a neutral eyeshadow palette, and a makeup sponge will get you through most of the looks in this guide without spending a dollar. Face paint is only truly necessary for one look here (skeleton), and it’s optional everywhere else.
If you get partway through this guide and realize you’d rather shop for a complete kit instead of improvising with what you own, our Halloween makeup buying guide (linked above) compares face paint, eyeliners, lip colors, and setting products across every look, with buying advice for each.
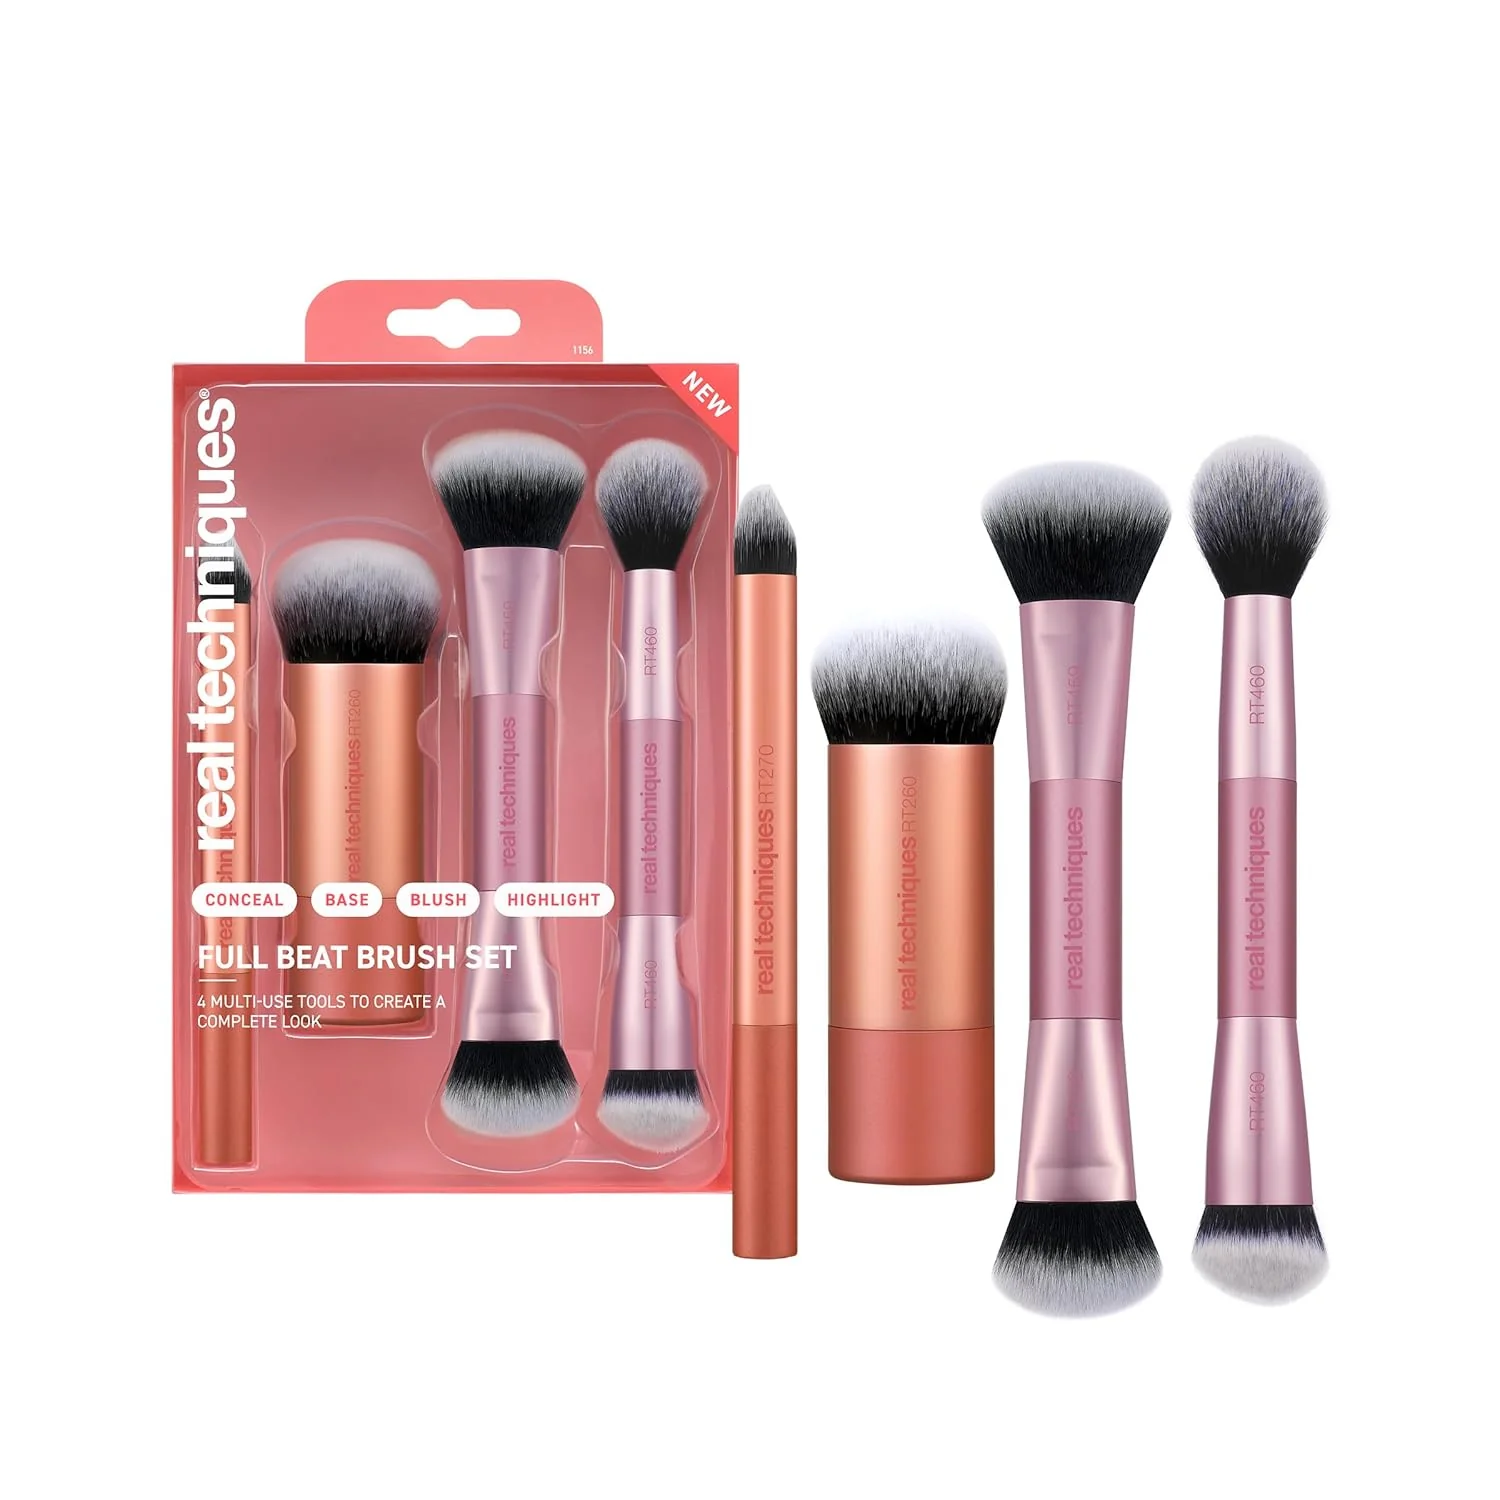
One tool worth having: a basic makeup sponge makes face paint and cream products noticeably easier to blend than fingers alone. Real Techniques Everyday Essentials is a small, inexpensive set of basic brushes and a sponge that covers blending for every look in this guide — but any sponge or brush set you already own will do the same job. View on Amazon
Easy Black Cat Makeup
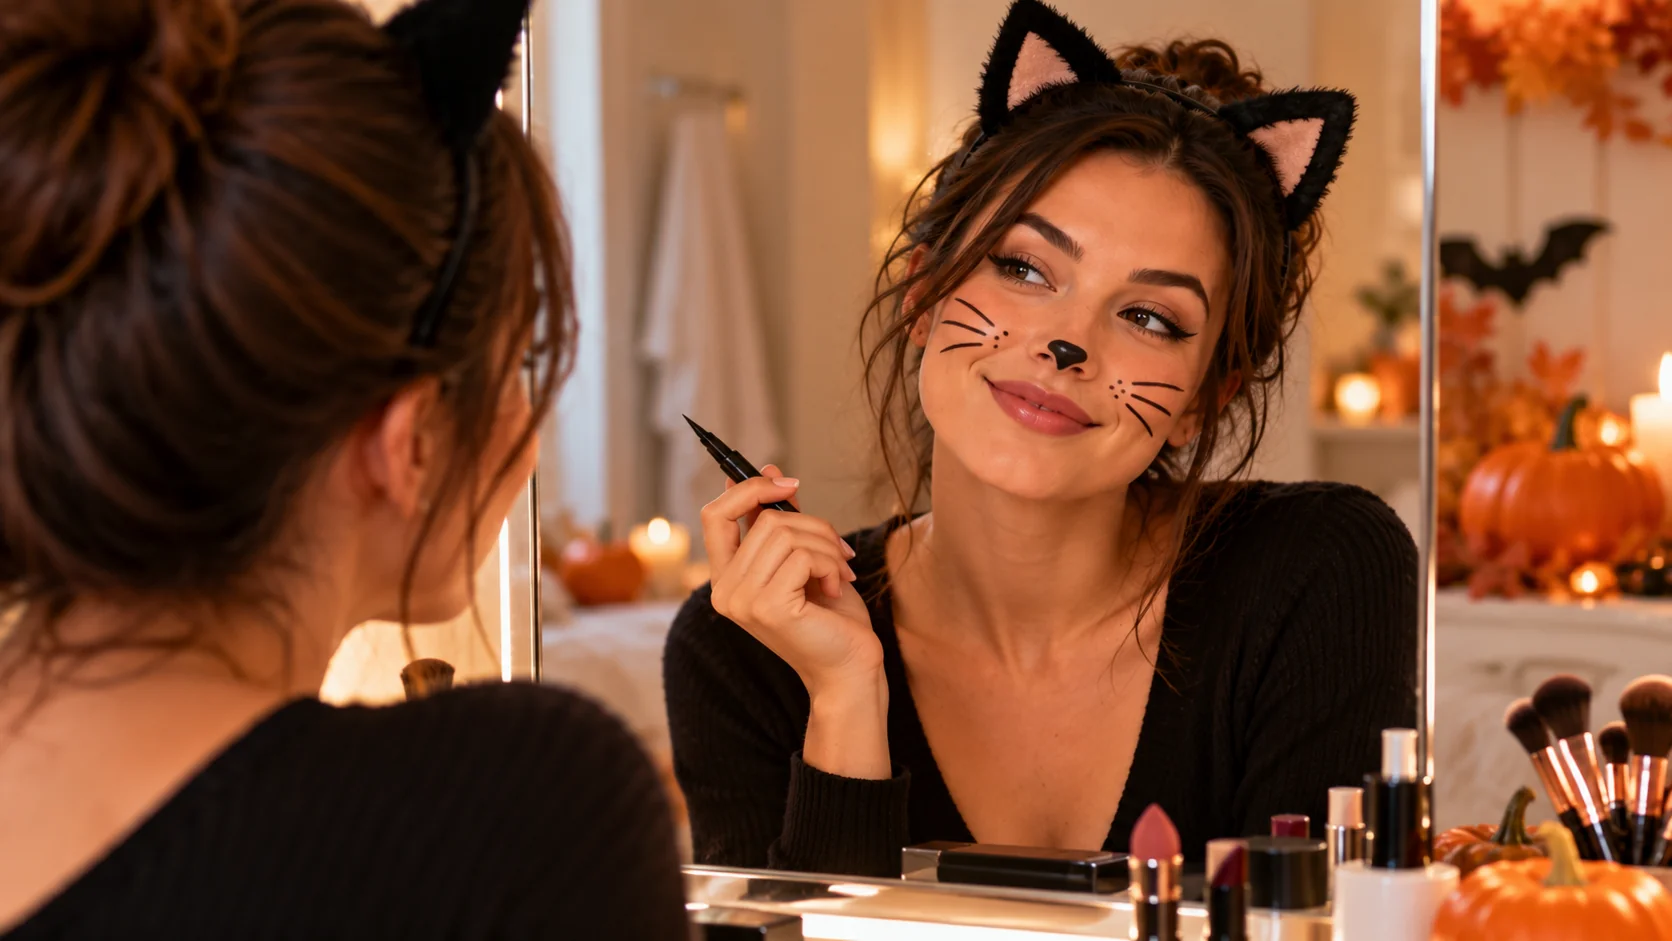
Cat is the easiest look in this guide, and the one that needs the least to pull off. If this is your first time doing any kind of costume makeup, start here.
What You Need
A black (or dark brown) eyeliner — pencil, gel, or liquid, whatever you already own — plus your regular eye makeup (mascara, a neutral eyeshadow if you want extra definition). A small angled brush or cotton swab helps clean up edges but isn’t required.
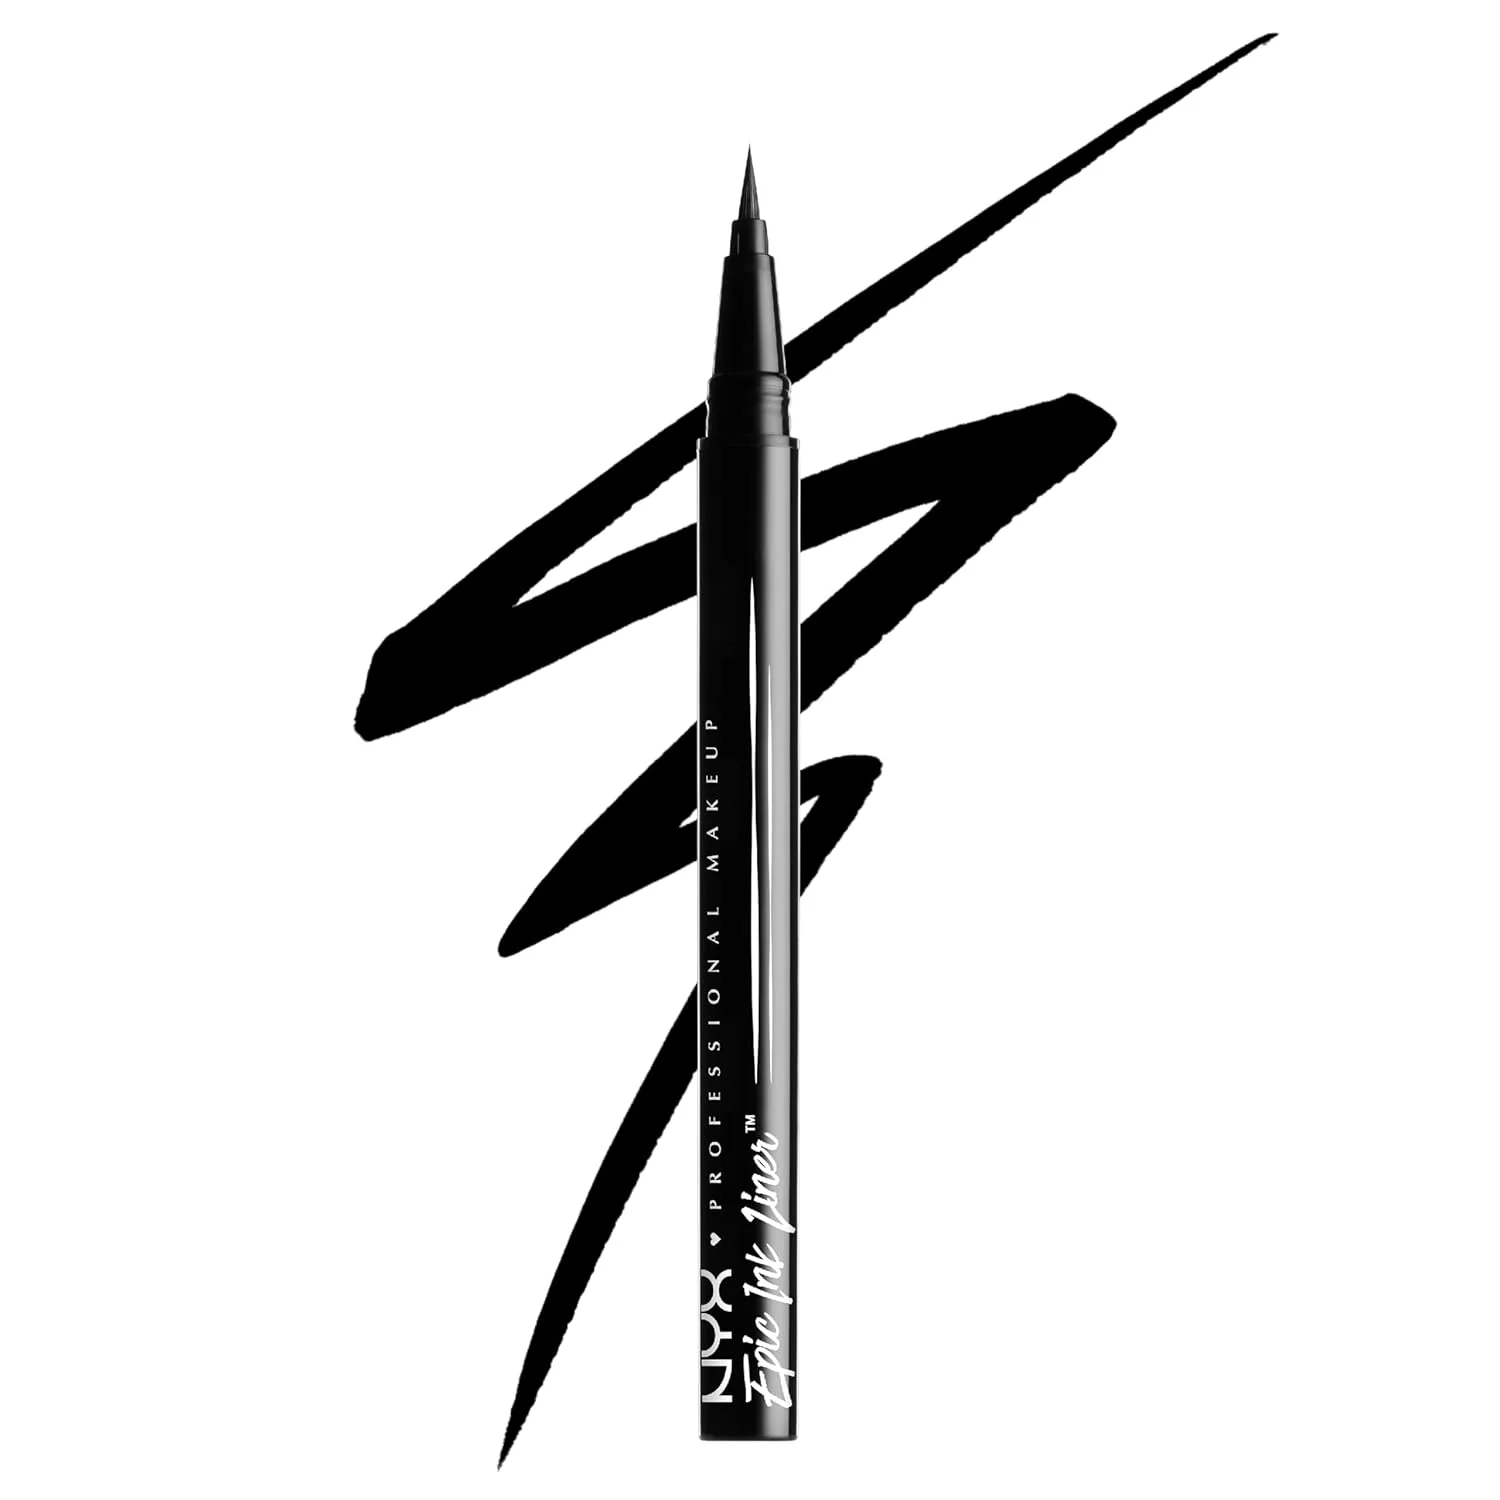
Don’t own a liner yet? NYX Professional Makeup Epic Ink Liner (Black) is a precise, waterproof liquid liner that works well for both whisker lines and a winged cat eye, with brand-rated wear of up to 24 hours. Already have any liquid, gel, or pencil liner at home? Use that instead — this step doesn’t call for a specific product. View on Amazon
Step-by-Step
1. Draw a winged line at the outer corner of each eye, extending slightly past your natural lash line — this is the base of the “cat eye.”
2. Color the tip of your nose solid black or dark brown using your liner (a pencil liner or a lip liner in a dark shade both work well for this).
3. From the edge of your colored nose tip, draw 2–3 thin whisker lines on each cheek, angled slightly upward.
4. Add 2–3 small dots above your upper lip on each side, near where real whiskers would start.
5. Fill in your brows slightly darker and more angled than usual if you want a more dramatic feline shape, and finish with mascara.
Make It Easier
If a liquid liner feels too shaky in your hand, use a sharpened pencil liner instead — it’s more forgiving and easier to correct with a cotton swab. You can also lightly pencil in the whisker lines first, check them in the mirror, then go over them once you’re happy with the placement.
Common Beginner Mistake
Whisker lines that are too long, too thick, or too perfectly straight tend to look more like stray pen marks than whiskers. Keep them short, slightly uneven, and angled — real whiskers aren’t ruler-straight.
Optional Upgrade
For more color, add a soft pink or brown blush just under the cheekbone to suggest fur shading, or use a cream eyeshadow in a warm brown tone blended along the outer eye for a softer, more dimensional cat-eye shape.
Easy Vampire Makeup
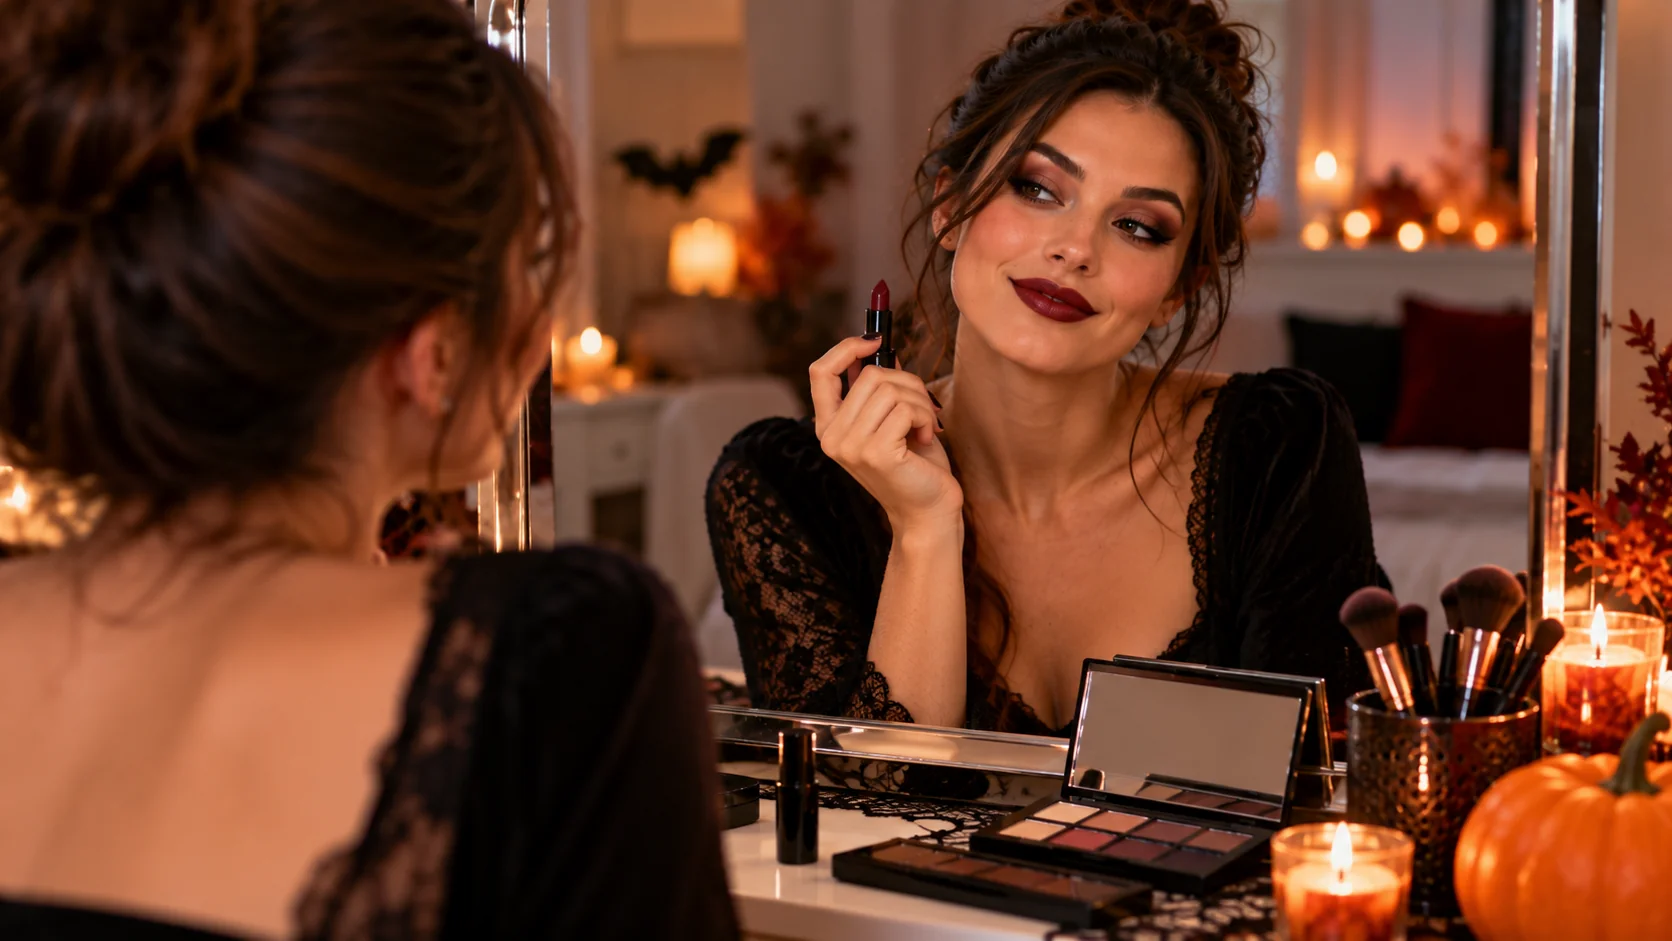
A classic vampire look leans on makeup you probably already own — a dark lip, a dramatic eye, and your normal base. You don’t need naturally pale-looking skin to pull this off; the dark eye and lip do most of the work. This look does not require face paint, fake blood, or any special-effects products, and this guide doesn’t cover wound or gore makeup.
What You Need
A dark red, wine, or near-black lip color; a dark eyeshadow or eyeliner for a smoky eye; and your normal foundation or concealer, used as you usually would. If you want a cooler, more dramatic effect, you can skip bronzer or heavy blush, but that’s optional, not a requirement for this look.
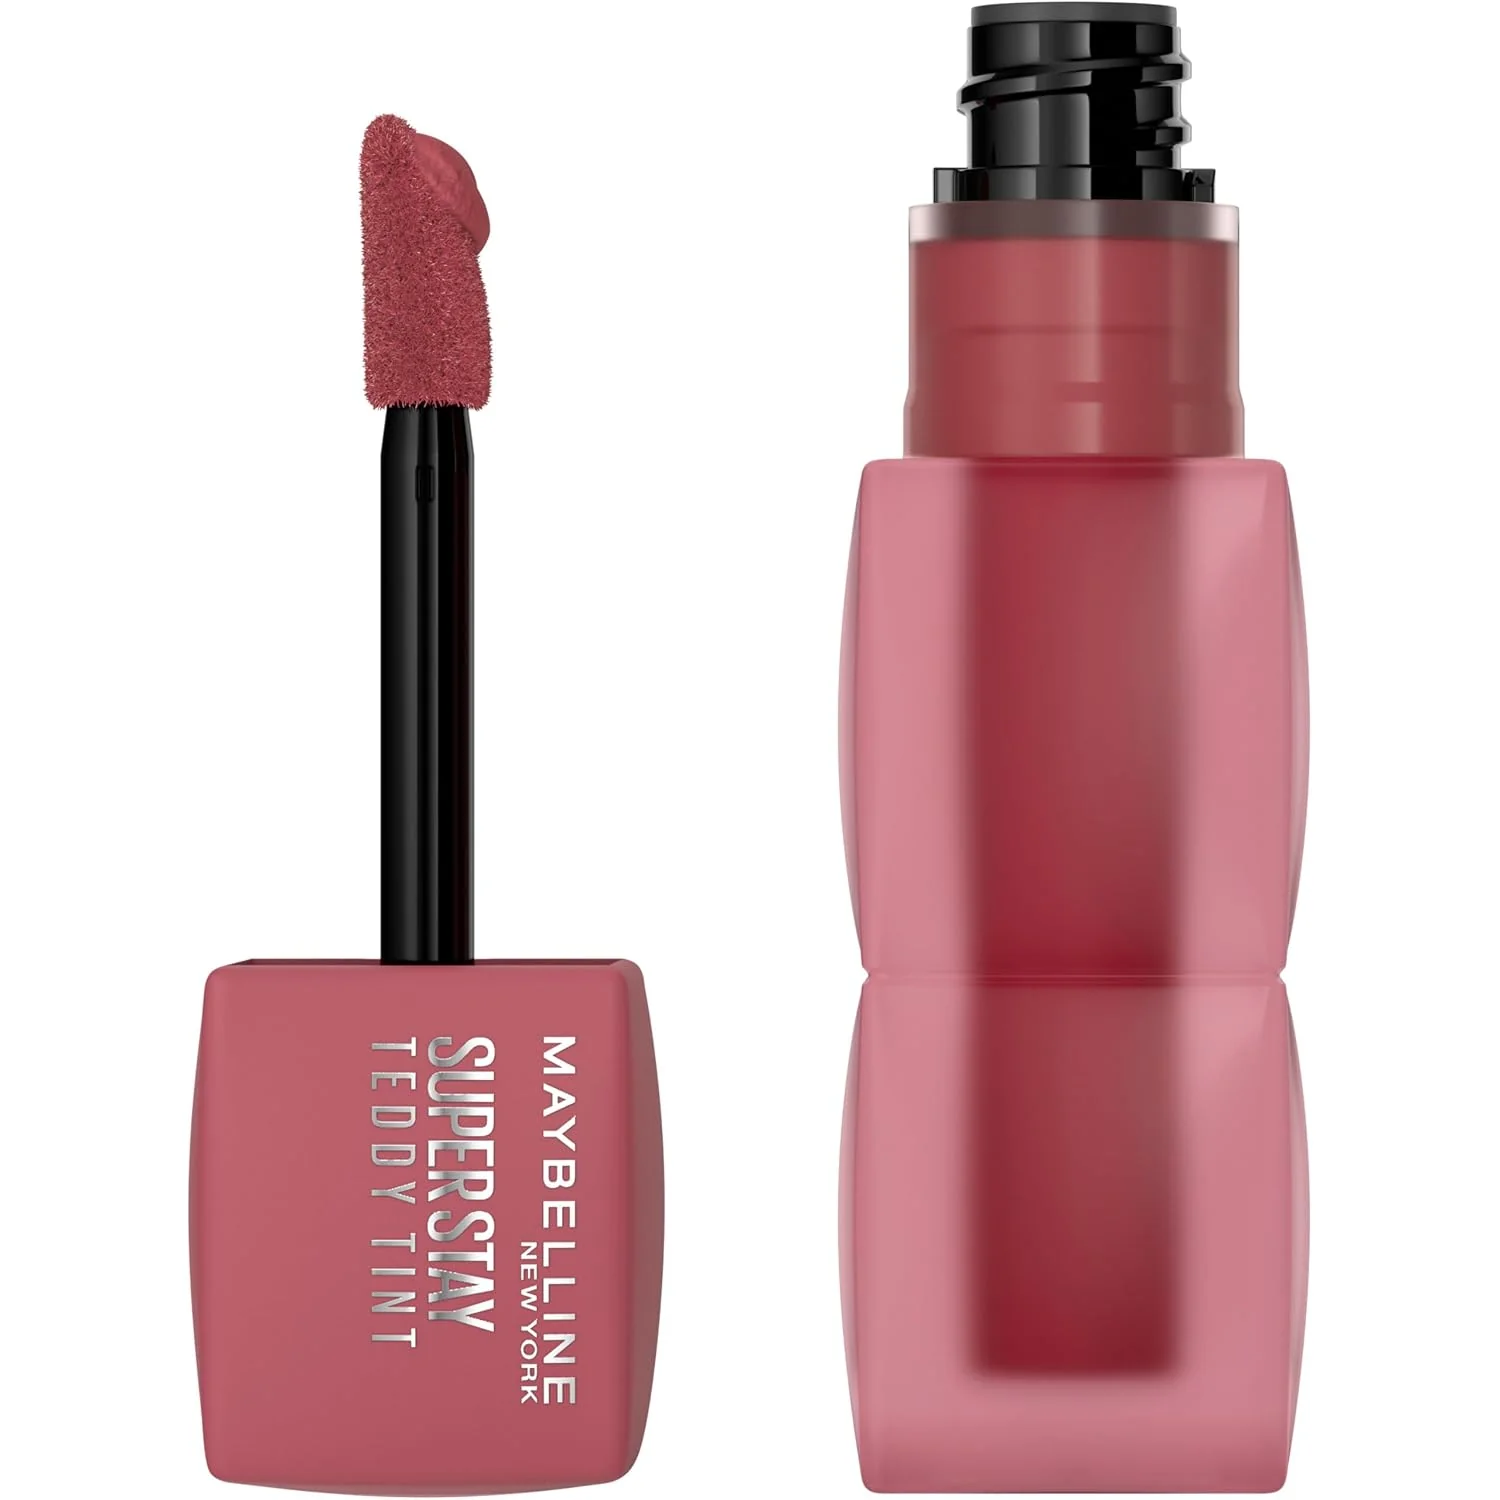
Want a long-wearing dark lip? Maybelline Super Stay Matte Ink Liquid Lipstick is rated by the brand for up to 16 hours of transfer- and smudge-resistant wear in deep shades that suit this look. Matte liquid lipsticks can feel drying, so consider a lip balm underneath. Already own a dark lipstick or lip liner? That works just as well. View on Amazon
Step-by-Step
1. Apply your normal foundation or concealer as you usually would — no need to go lighter than your actual shade. If you want a cooler, more dramatic effect, you can skip bronzer and warm-toned blush, but this step works fine with your everyday base too.
2. Sweep a dark gray, plum, or black eyeshadow across your lid and slightly under the lower lash line, blending so there are no hard edges.
3. Line your upper lash line with a precise liner for definition — this is also where NYX Epic Ink Liner’s fine brush tip is useful, if you have it.
4. Fill in lips fully with your dark lip color, using a lip liner first if you want a cleaner edge.
5. Optional: use a cool-toned contour shade to subtly hollow the cheeks for a more dramatic bone structure.
Make It Easier
If blending a smoky eye feels intimidating, use a single dark matte eyeshadow shade all over the lid with a fluffy brush instead of trying to blend multiple shades — one well-blended color looks more polished than three poorly blended ones.
Common Beginner Mistake
If you’re going for a cooler, more dramatic effect, heavy bronzer or warm blush can work against it. A cool-toned berry or plum blush placed high on the cheekbone pairs better with this look than a warm bronzer, if you want added color — but neither is required.
Optional Upgrade
A small, subtly shadowed line at each corner of the mouth (using the same dark eyeshadow on a small brush) can suggest a slightly sharper smile without any special-effects products.
Easy Witch Makeup
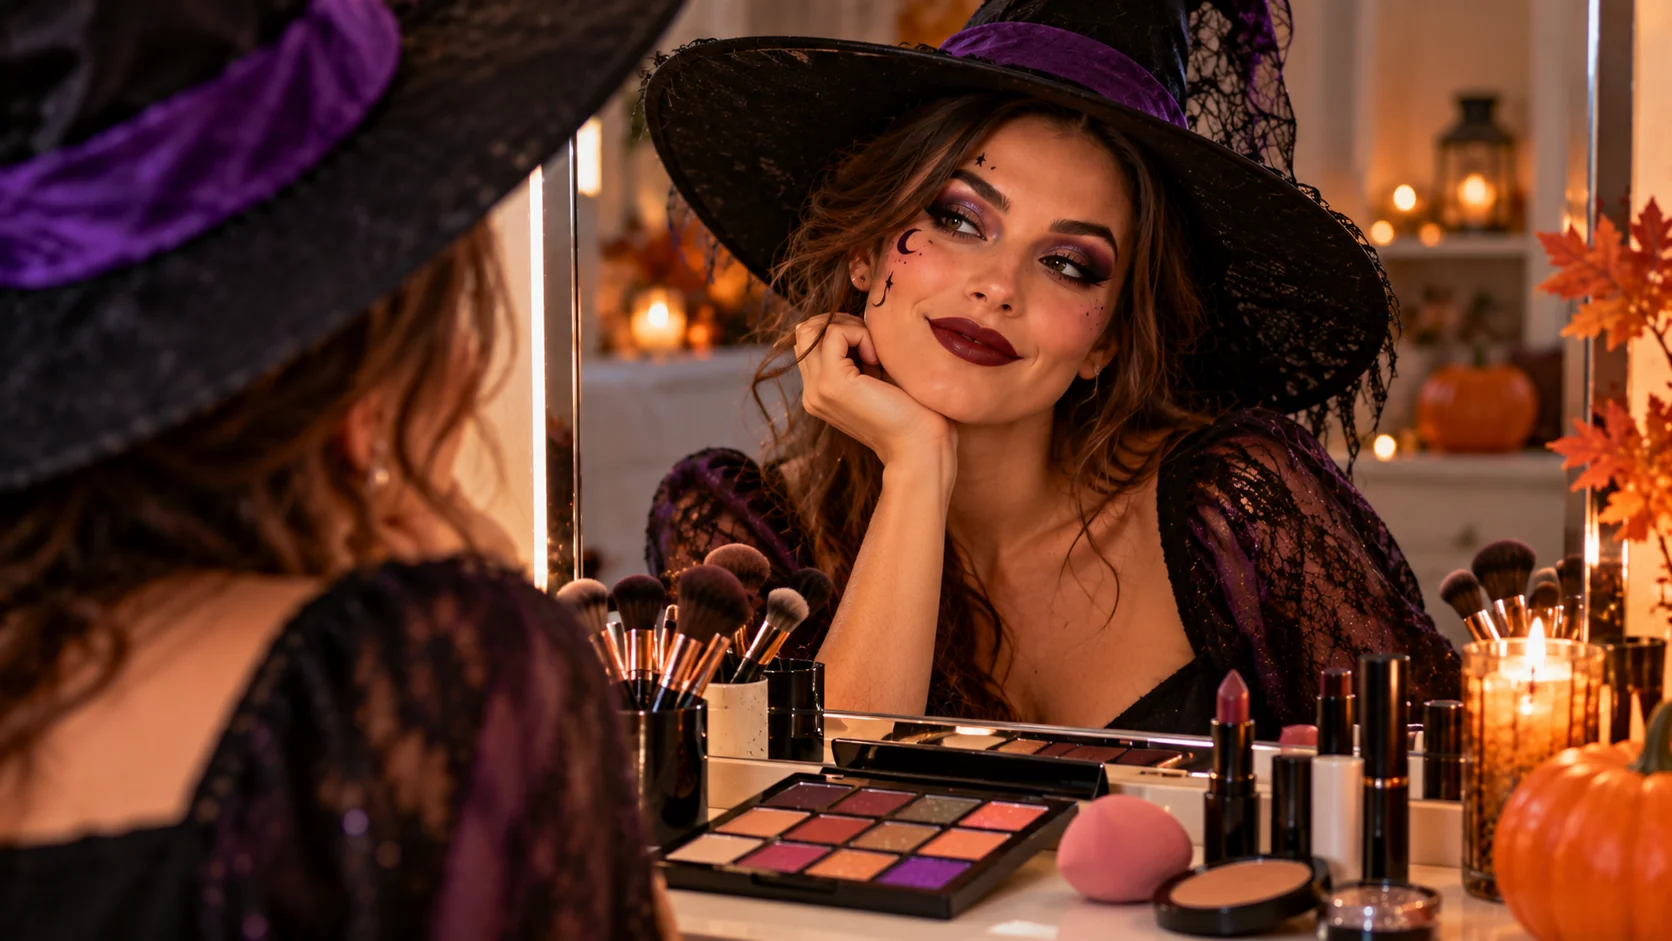
Witch is really two different looks in one, so pick whichever direction fits what you already own: a classic dark, moody witch, or a more colorful “glam witch” built around a bright eyeshadow palette.
What You Need
Classic direction: a dark eyeshadow or eyeliner and a dark lip color (the same products used for the vampire look above work here too). Colorful direction: a multi-shade eyeshadow palette with a few bold, saturated colors.
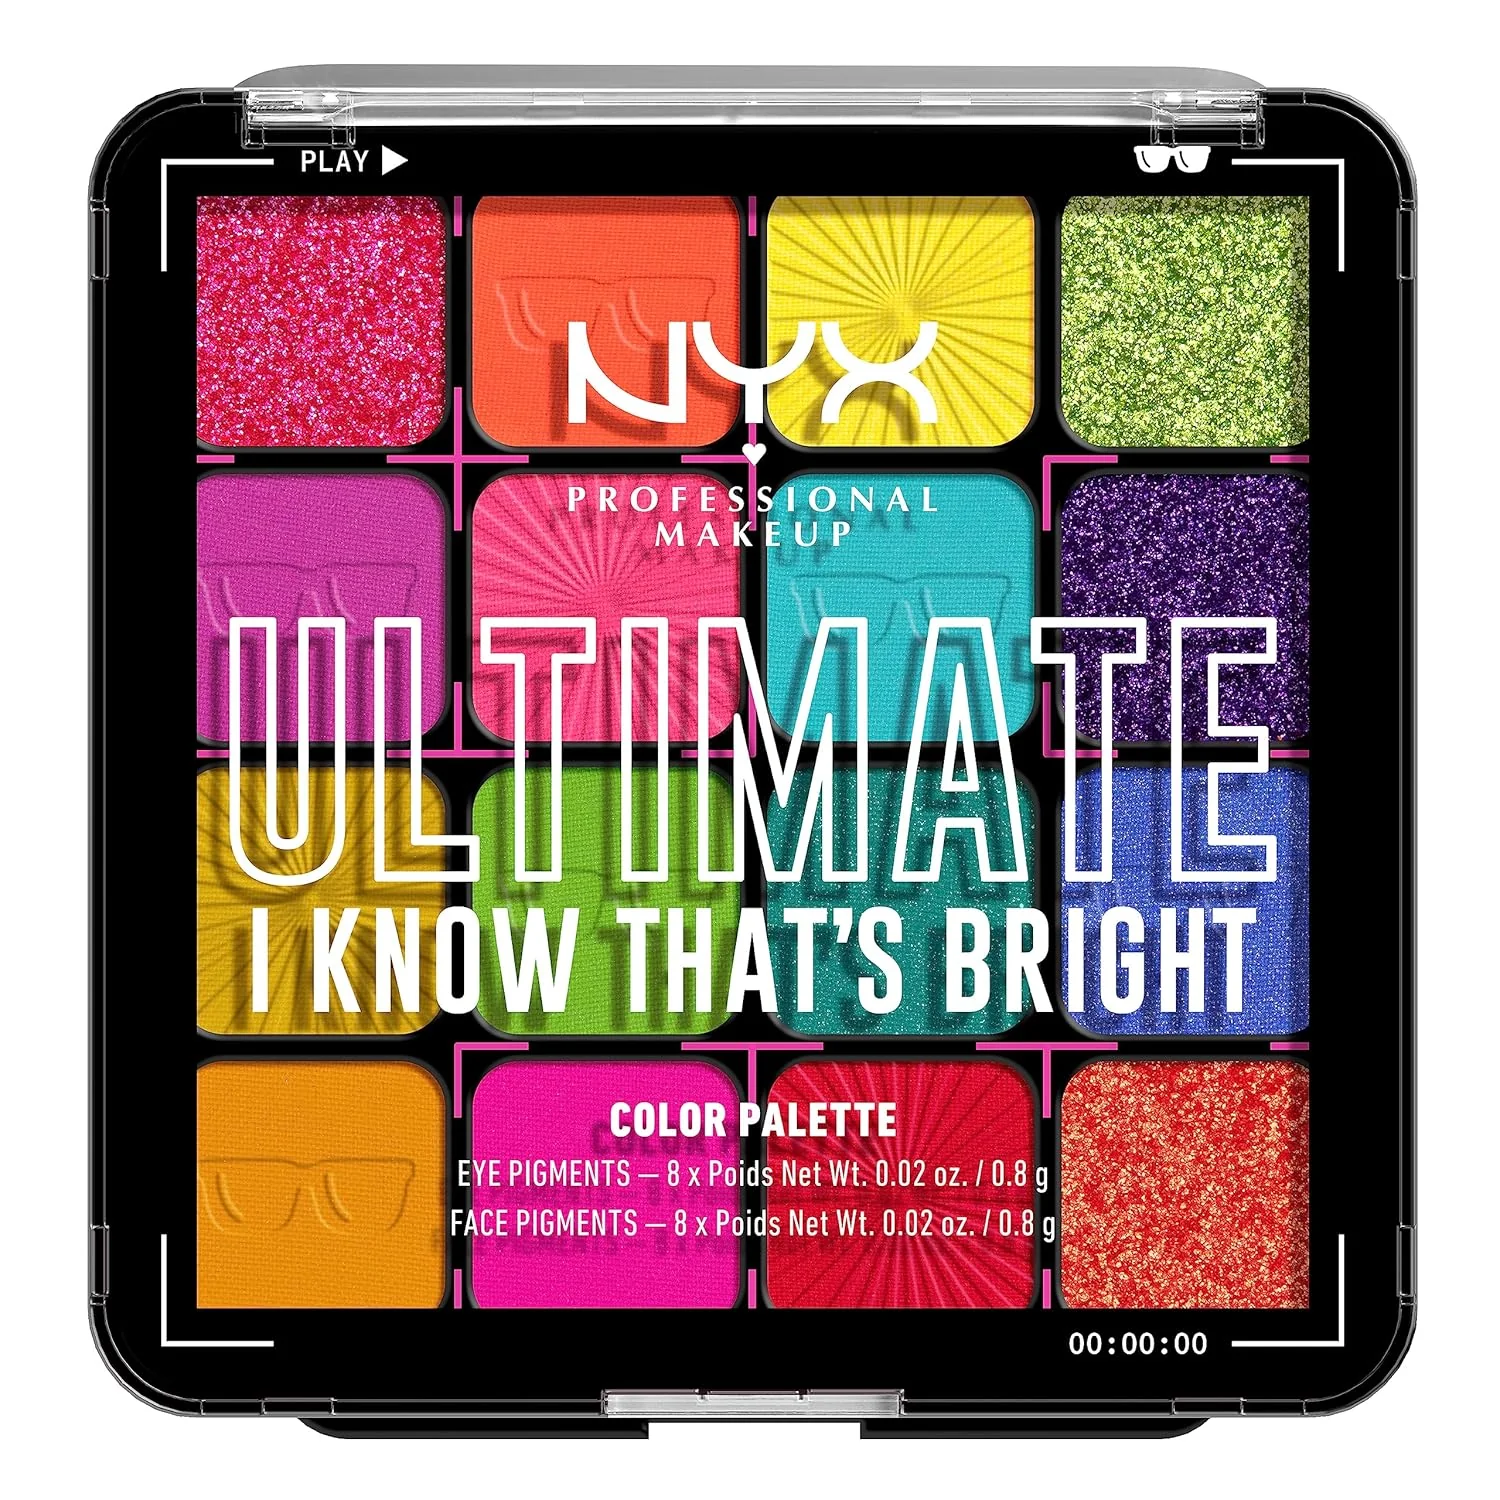
Going the colorful route? NYX Professional Makeup Ultimate Shadow Palette in “I Know That’s Bright” is a 16-shade, vibrant palette that works well here. NYX identifies 8 of the 16 shades in this palette (numbers 1, 2, 5, 6, 8, 14, 15, and 16) as face pigment shades meant for the cheeks and temples rather than the eye area — check current packaging and keep those specific shades off your eyes, and use the remaining eye-safe shades on your lid instead. View on Amazon
Step-by-Step
Classic witch:
1. Apply a dark, smoky eye using the same technique as the vampire look above.
2. Define brows slightly thicker and more angled than your natural shape.
3. Fill in lips with a dark, near-black or deep purple color.
4. Optional: a few small dots of a dark eyeshadow along one cheekbone, like a faint smudge of soot.
Colorful “glam” witch:
1. Apply one or two of the palette’s eye-safe shades across the lid, blending toward a darker eye-safe shade in the outer corner.
2. Use one of the face pigment shades swept along the cheekbones and temples for a bold pop of color — this is exactly what those shades are designed for.
3. Add a thin, precise liner flick at the outer corner for extra drama.
4. Pair with a bold lip in whatever bright or dark shade you already own.
Make It Easier
If blending multiple eyeshadow shades feels like too much, pick one dominant color and apply it with a single fluffy brush across the whole lid rather than trying to create a multi-color gradient.
Common Beginner Mistake
Using a face pigment shade from a bright palette directly on the eyelid, or using face paint near the lips in a shade not meant for that area. If you’re adding any face paint accents to this look, keep red, yellow, or orange shades away from the eyes and blue or green shades off the lips — those are the restrictions the paint manufacturer itself calls out, and they’re easy to avoid once you know about them.
Optional Upgrade
A very light dab of a green-toned face paint along the hairline or jaw (avoiding the lips) can suggest “witch skin” without committing to a full face-paint look.
Easy Skeleton Makeup
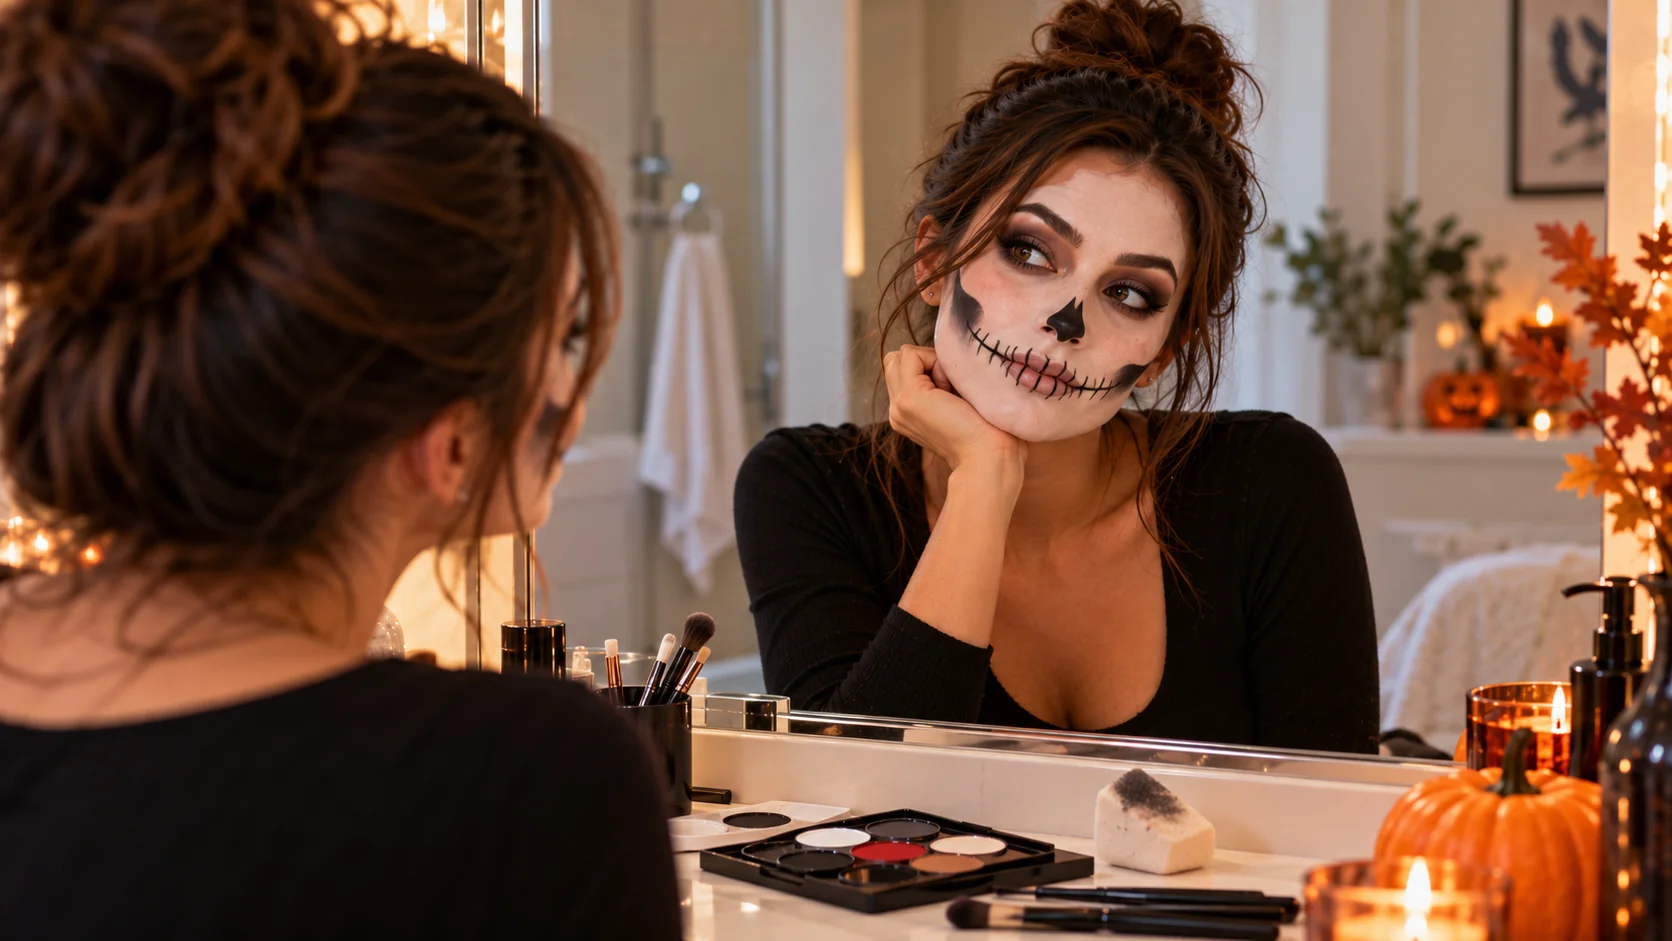
Skeleton is the one look in this guide that genuinely benefits from real face paint rather than regular makeup — it’s hard to get a convincing solid white base from foundation alone. It’s also the most involved look here, so budget a bit more time than the others.
What You Need
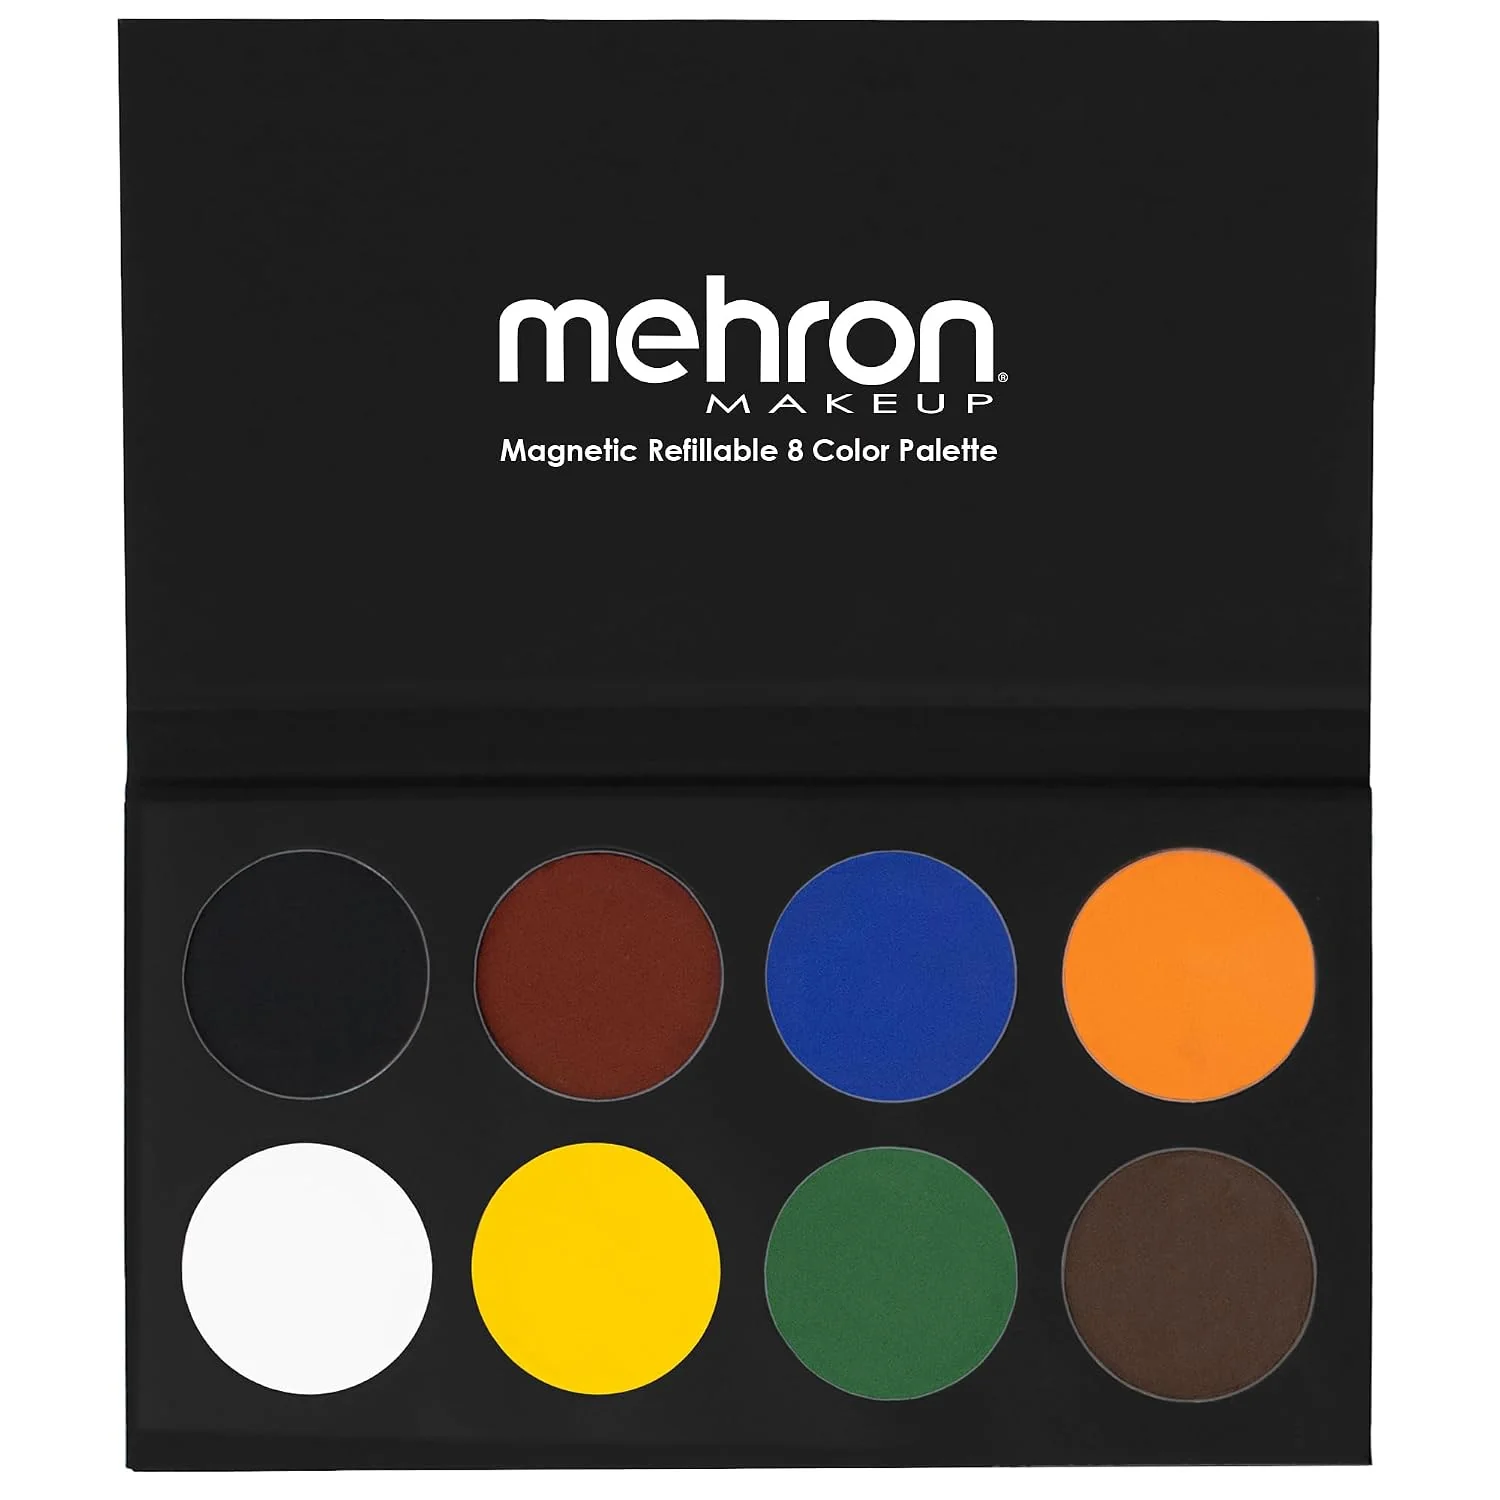
A white (or very light) face paint for the base, plus black for shading around the eye area, the nose, and the cheek hollows — following that specific product’s current directions for use near the eyes. A small round brush or sponge helps with clean edges.
Need a face paint palette? Mehron Paradise Makeup AQ is a water-activated face and body paint that blends well for this kind of base-and-detail work. Mehron advises against using red, yellow, or orange shades around the eyes, and blue or green shades on the lips — not every shade in the palette carries the same restriction, so check current packaging before use. For a skeleton look using mainly white and black, this rarely comes up, but it’s worth knowing if you add any colored accents. View on Amazon
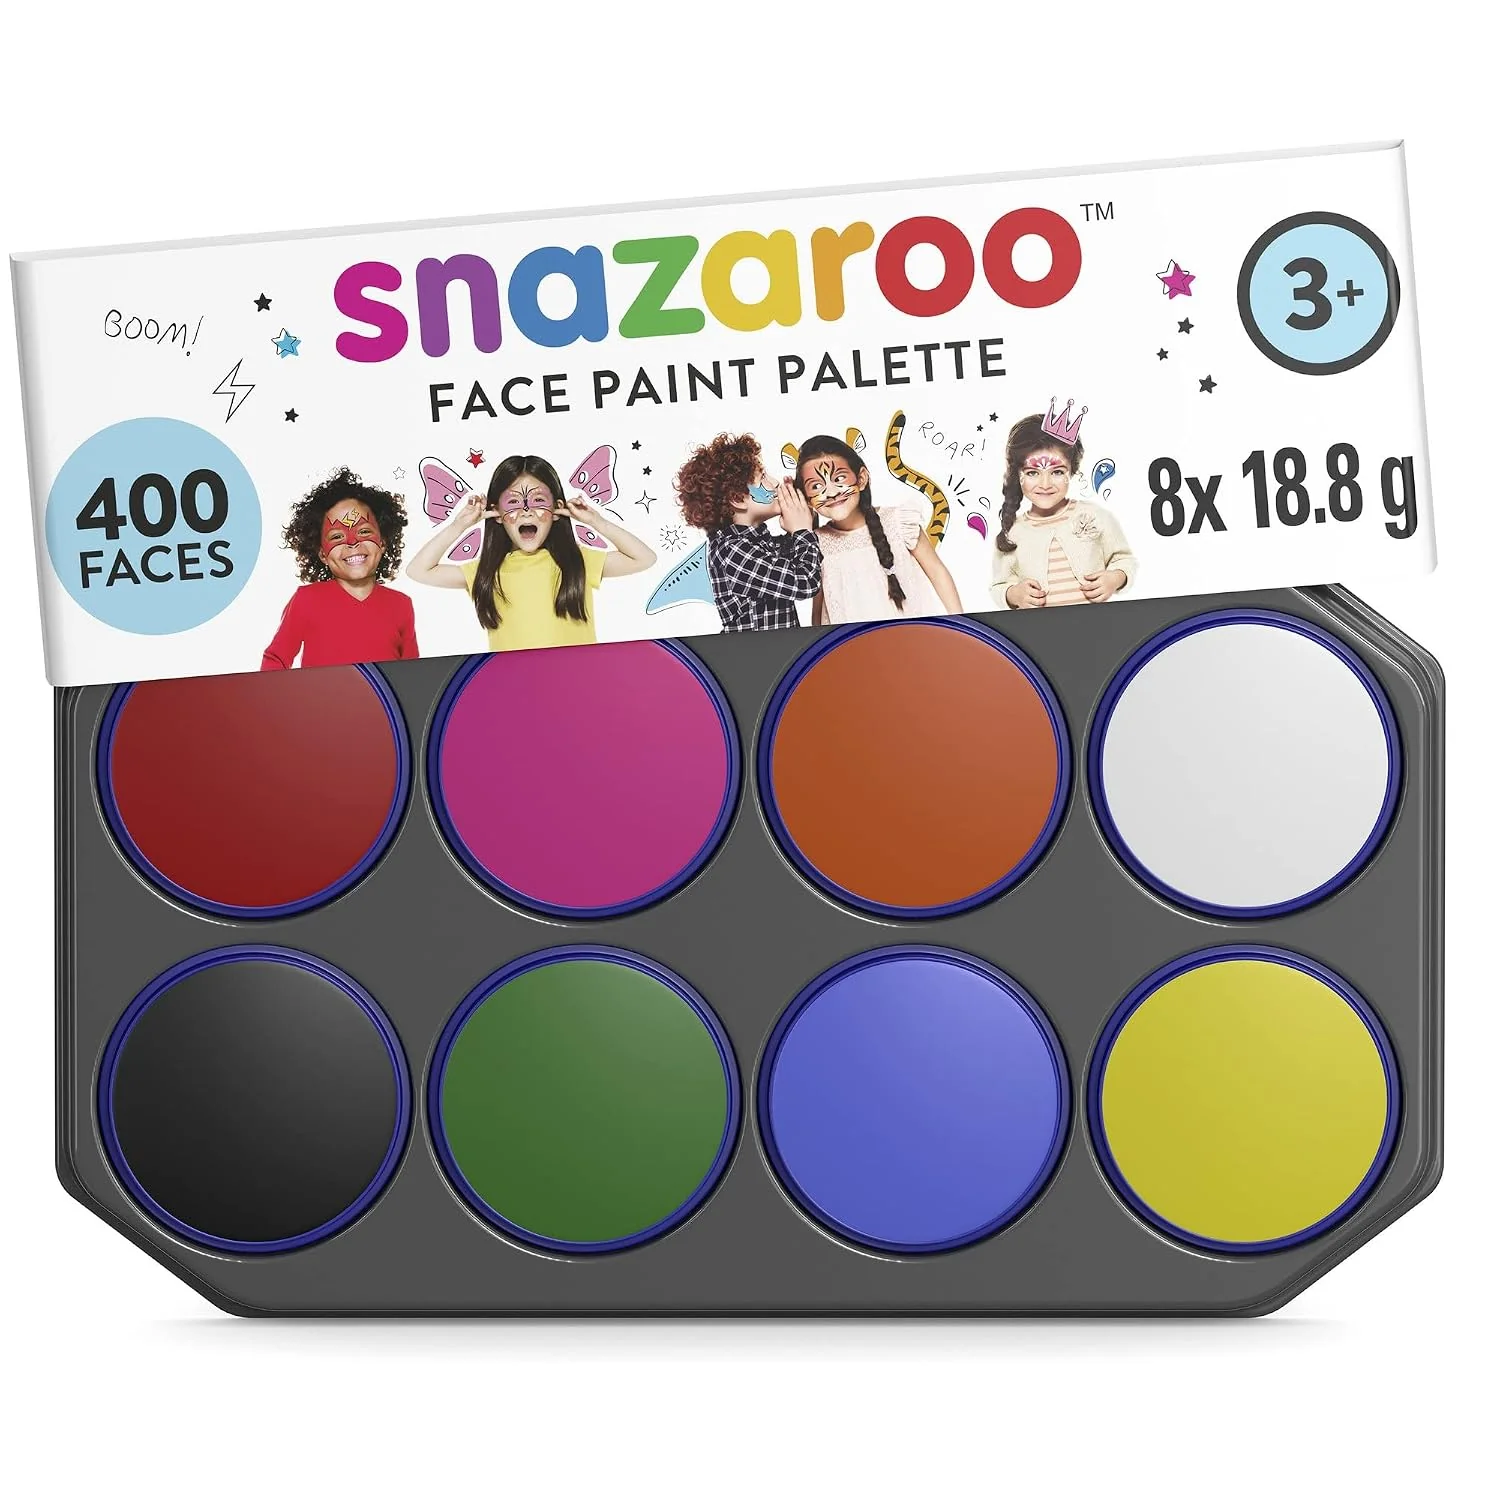
Want a lower-cost option instead? Snazaroo’s face paint kit is a budget-friendly alternative that works similarly for a first attempt — per the brand’s own safety information, it’s dermatologically tested using sensitive-skin volunteers. View on Amazon
Step-by-Step
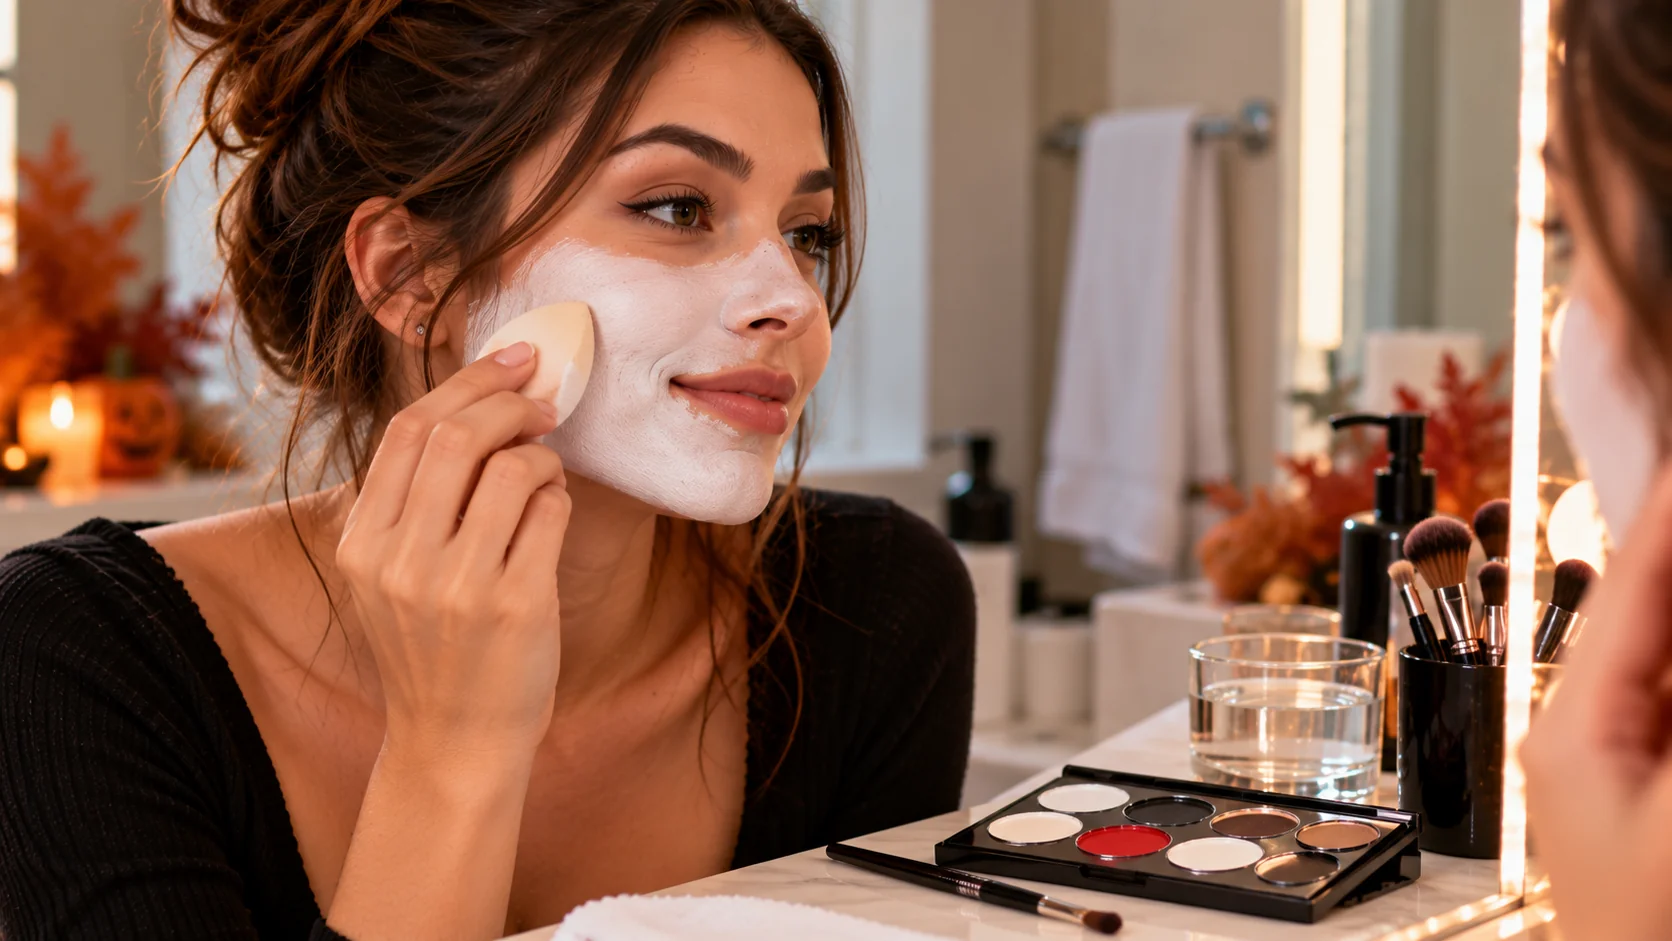
1. Activate the white face paint with a damp (not soaking wet) sponge and apply a thin, even layer across your entire face, building up gradually rather than applying one thick coat.
2. Let the first layer dry slightly, then apply a second thin layer anywhere it looks uneven or sheer.
3. Using a smaller brush and black face paint, shade the sides of your nose to suggest a nasal cavity and the hollows of your cheeks. For the eye-socket effect, create the dark shape only where your specific face paint’s current directions permit use near the eyes, keep product out of the eyes themselves, and don’t assume every cosmetic face paint is automatically approved for the eyelid or immediate eye area — check the packaging first.
4. Use a precise black liner — NYX Epic Ink Liner works well here — to add fine detail lines: cracks, small dots, or a suggestion of teeth along the lip line if you want that detail.
5. Let everything set for a few minutes without touching your face before heading out.
Make It Easier
Apply the white base in thin layers instead of one thick one — it dries faster, looks more even, and is far less likely to crack or flake. A slightly damp makeup sponge gives smoother coverage than a dry one.
Common Beginner Mistake
Applying face paint too thick in one pass, which can look cakey and is more prone to cracking as it dries. Thin layers, built up gradually, almost always look better than one heavy coat.
Optional Upgrade
A small, precise brush and a bit of gray or light blue shading along the black edges can add dimension and make the hollows look less flat.
Easy Clown Makeup
This is a playful, bright take on clown makeup — colorful, exaggerated, and fun, not a horror-movie or theatrical-prosthetic look. Think bold color blocking rather than anything unsettling.
What You Need
A bright, bold eyeshadow or face pigment for the cheeks, a bright lip color, and your regular eyeliner for exaggerated brows or lashes.
If you already picked up the NYX “I Know That’s Bright” palette for the witch look above, several of its face pigment shades (numbers 1, 2, 5, 6, 8, 14, 15, and 16) work just as well here — they’re a good fit for big, round clown cheeks. Keep those particular shades off your eyelids and use them on the cheeks, temples, or brow area instead.
Step-by-Step
1. Using a fluffy brush, apply a bright face pigment shade in a large, exaggerated circle on each cheek — bigger and rounder than a normal blush placement.
2. Fill in a bold, bright lip color slightly outside your natural lip line for an exaggerated mouth shape (a lip liner in the same tone makes this easier to control).
3. Use your eyeliner to draw slightly exaggerated, upward-angled brows above your natural brow line.
4. Add a few individual false lashes or extra mascara for a wide-eyed, playful look.
5. Optional: a small dab of a bright face pigment or lipstick on the tip of the nose for a rounded “clown nose” effect.
Make It Easier
Use a lip liner to map out the exaggerated lip shape before filling it in with color — it’s much easier to adjust a pencil line than to fix liquid lipstick that’s gone too far outside your natural lip shape.
Common Beginner Mistake
Leaning toward a “horror clown” aesthetic with smeared or asymmetrical makeup. For the playful version of this look, keep lines clean, colors bright rather than muddy, and shapes symmetrical.
Optional Upgrade
A few small rainbow dots or a thin stripe of color near (not on) the eyebrow using the palette’s eye-safe shades can add extra personality without touching the eye area.
Which Halloween Look Is Easiest for Beginners?
Based on the five tutorials above, cat is the easiest look here by a clear margin — it needs only an eyeliner and a few minutes, with no face paint and no blending skills required. Vampire is also genuinely easy, but only if you already own a dark lip color and a dark eyeshadow; if you don’t, you’ll need to pick those up first, which adds a step cat doesn’t require. Witch sits in the middle: the classic direction is about as easy as vampire, while the colorful direction takes a bit more care around shade placement. Skeleton and clown are the most involved looks in this guide — skeleton because it requires a full face-paint base applied in even layers, and clown because it combines face pigment placement, a precise exaggerated lip, and brow work in a single look. If you’re doing this for the first time with limited time, start with cat or vampire.
How to Help Halloween Makeup Last Longer
Regular makeup and face paint behave differently, so it helps to treat them separately rather than expecting one product to do both jobs.
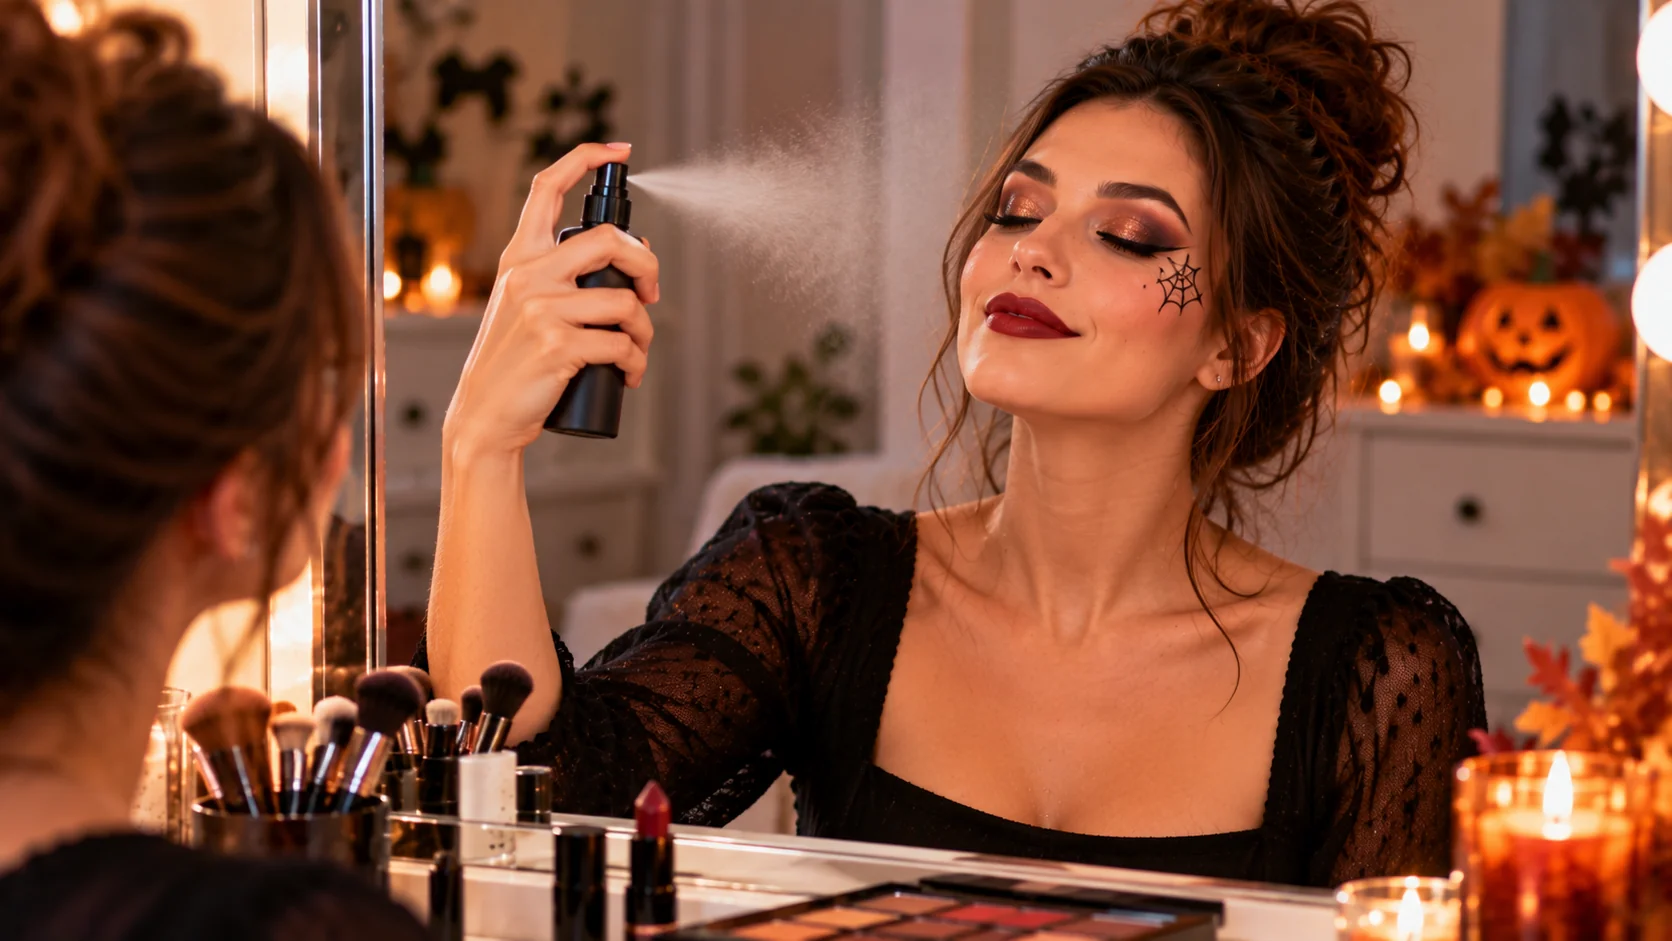
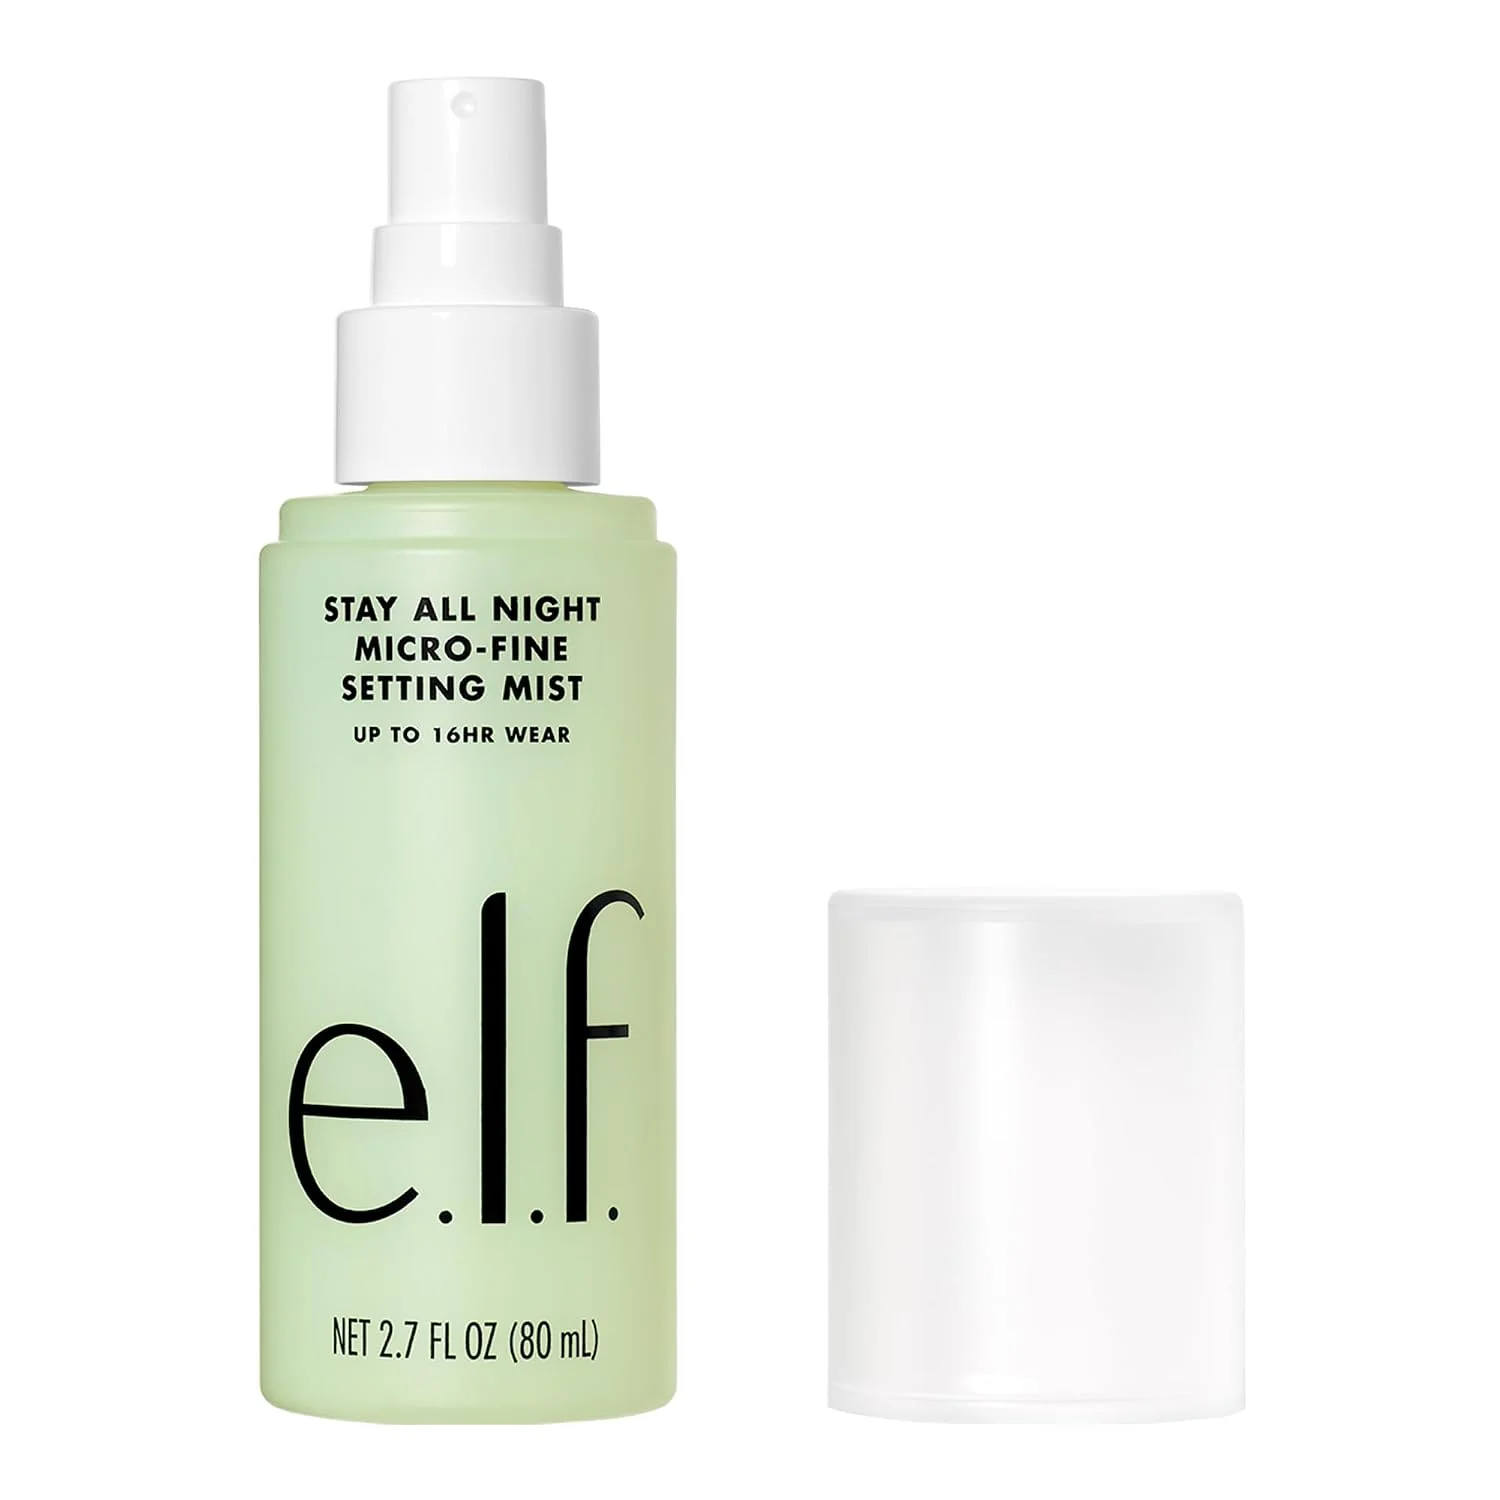
For regular makeup — eyeliner, eyeshadow, lipstick — a setting spray can help extend wear time, but it’s genuinely optional, not a requirement for any look in this guide. e.l.f. Stay All Night Micro-Fine Setting Mist is a lightweight, hydrating option rated by the brand for up to 16 hours of wear; mist it in an X or T pattern with your eyes closed and let it air-dry rather than rubbing it in.
Want to extend wear time on regular makeup? e.l.f. Stay All Night Micro-Fine Setting Mist is a lightweight, hydrating setting spray rated by the brand for up to 16 hours of wear. It’s entirely optional — none of the five looks in this guide require a setting spray to work. View on Amazon
For face paint, setting works differently — letting each layer dry fully before adding the next and avoiding touching your face matters more than any spray-on product, and this guide doesn’t require a specialty face-paint setting product to get a good result.
How to Remove Halloween Makeup Gently
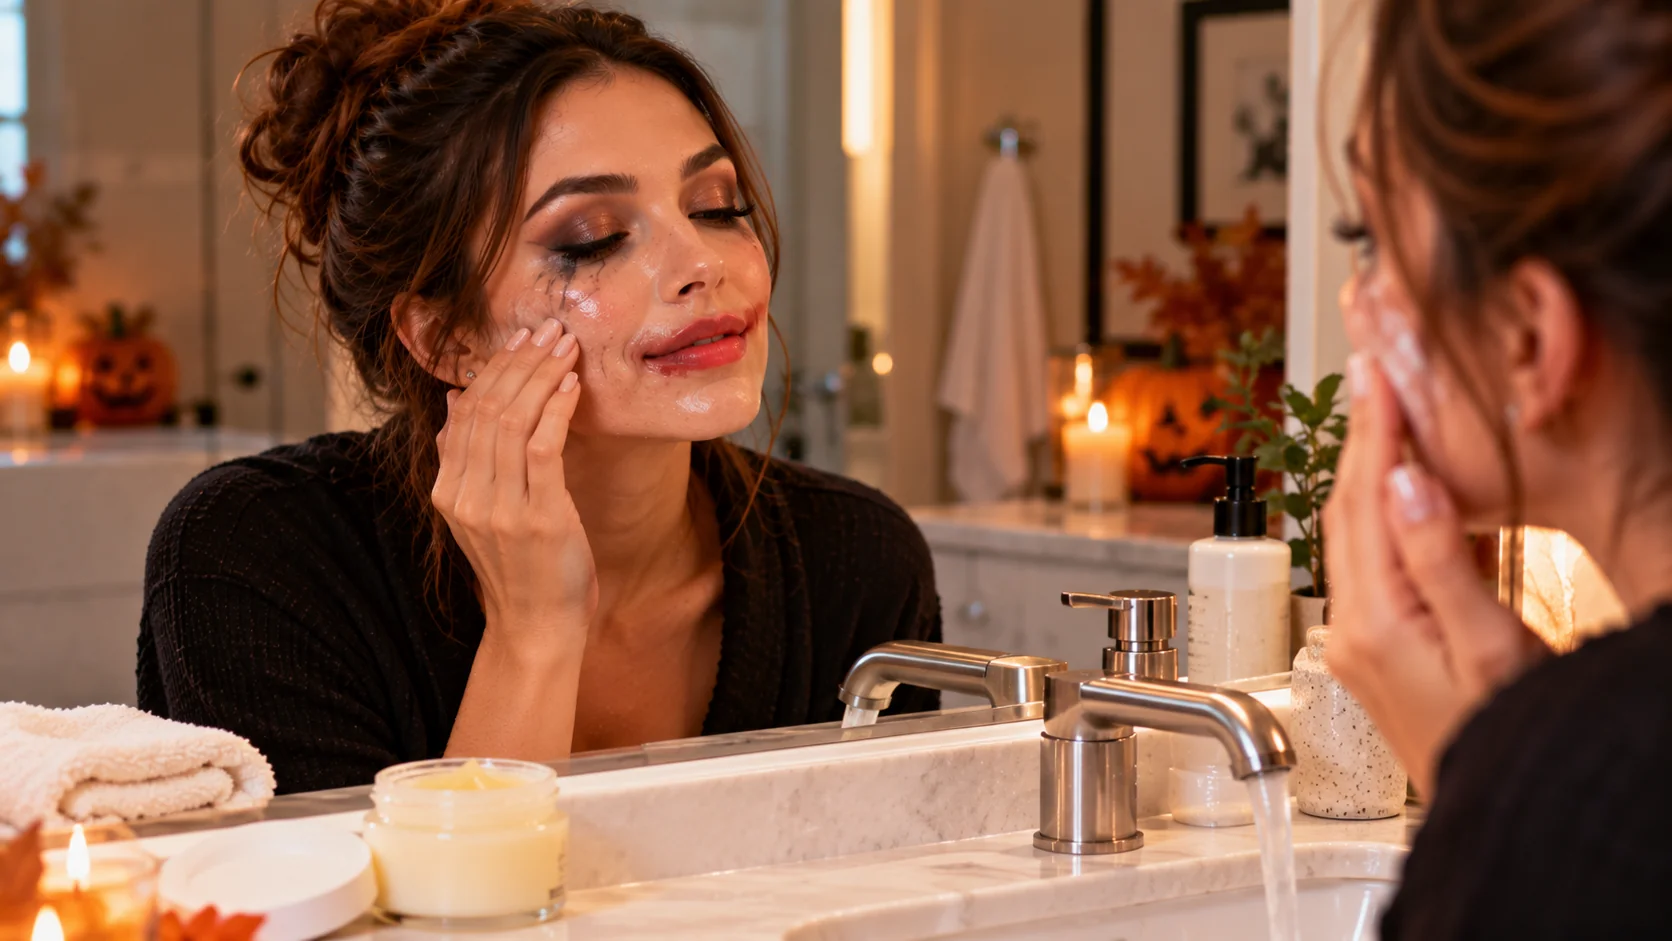
Whatever look you did, take your makeup off before bed rather than leaving it on overnight. For regular makeup, a standard cleansing balm or oil-based remover will usually handle eyeliner, eyeshadow, and liquid lipstick without much scrubbing.
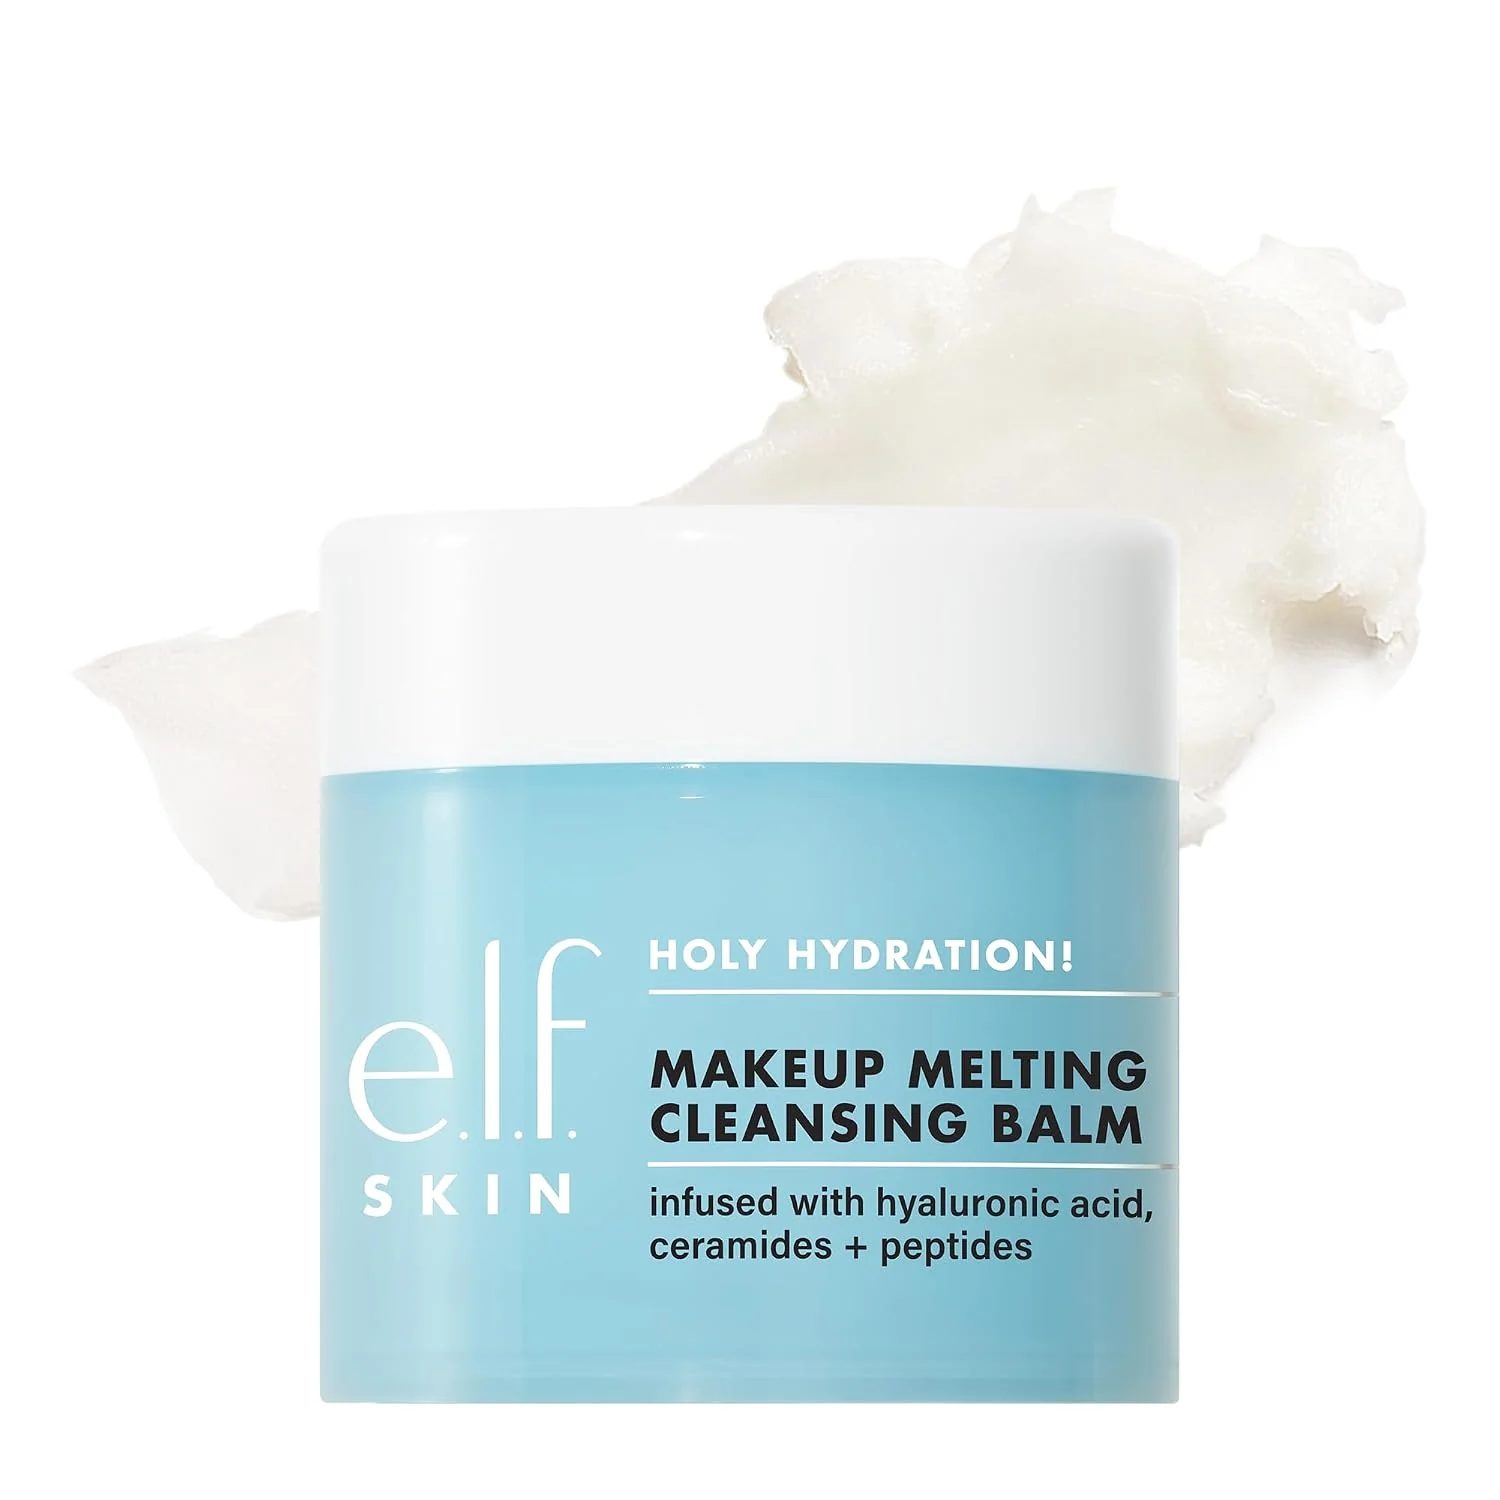
Removing regular makeup? e.l.f. Holy Hydration! Makeup Melting Cleansing Balm is a solid-to-oil balm with hyaluronic acid that’s designed to melt away cosmetics. It’s a reasonable option for everyday makeup, but it isn’t guaranteed to fully remove every face-paint formula — if you did a face-paint look like skeleton, follow that specific product’s own removal directions first, and treat this balm as a gentle follow-up cleanse rather than the only step. View on Amazon
Avoid scrubbing or using rough washcloths to speed things up, especially around the eyes — gentle, repeated passes work better than aggressive rubbing, and rubbing too hard can irritate skin that’s already had face paint or makeup sitting on it for hours. For more gentle cleanser options beyond the one above, our best gentle cleansers for beginners guide covers several by skin type.
Beginner Halloween Makeup Safety Basics
A few practical habits make any Halloween look safer, regardless of which one you choose:
Patch test first. If a product’s current directions recommend a patch test, follow the timing, location, and method specified by that manufacturer before full-face use — different brands specify different protocols, so check the current packaging or product page for the specific item you’re using rather than relying on one universal rule.
Keep products in their intended area. Face paint, eyeshadow, and lip color are formulated differently, and some shades are meant for specific areas only (as covered in the tutorials above). Using a product outside its intended area is one of the more common ways beginners run into irritation.
Don’t apply makeup over broken or irritated skin. If you have a cut, breakout, or irritated patch, let it heal before applying face paint or heavy makeup over it.
Remove everything before sleeping. Leaving face paint or makeup on overnight is one of the easiest ways to end up with clogged pores or irritation the next day.
Stop if something feels wrong. If you notice stinging, burning, or unusual redness at any point, wash the product off right away. This guide can’t guarantee any product will be comfortable for every skin type, so pay attention to how your own skin responds.
No. Only skeleton genuinely needs real face paint. Cat, vampire, witch, and clown can all be done with regular makeup you likely already own, with face paint as an optional accent.
Cat. It needs the fewest products, the fewest steps, and no face paint.
You can get a rough approximation with a very light, matte eyeshadow for the base, but it won’t give you the same solid, opaque white coverage that a true face paint provides. For a convincing skeleton look, real face paint works noticeably better.
Most of the shades in it are regular eyeshadow shades meant for the eye area. NYX specifically identifies shades 1, 2, 5, 6, 8, 14, 15, and 16 in this palette as face pigment shades meant for the cheeks and face rather than the eyes — check current packaging and keep those particular shades off your eyelids.
It depends on the specific shade and product. Mehron, for example, advises against red, yellow, or orange shades around the eyes and blue or green shades on the lips. Always check the current directions on your specific face paint before applying it near those areas.
No. A setting spray can help regular makeup last longer, but none of the looks in this guide require one to work.
Not necessarily. A standard cleansing balm works well for regular makeup, but it isn’t guaranteed to fully remove every face-paint formula. Follow your face paint’s own removal directions first.
It depends heavily on your own experience and how comfortable you are with each step, so we won’t put an exact time on it — but cat and vampire are noticeably faster than skeleton or clown for most beginners.
This guide is written with adult readers in mind. If you’re doing makeup on a child, patch-test any new product well in advance and consider going lighter on face paint coverage than shown here.
Final Thoughts
You don’t need a cart full of new products to pull off a convincing Halloween look — most of what’s in this guide works with an eyeliner, a dark or bright lip color, and whatever eyeshadow you already own. Start simple, pick the look that matches what you already have, and only add something new if it genuinely fills a gap. If you get through this guide and decide you’d rather shop a complete kit for a specific look instead of piecing one together, our Halloween makeup products for beginners guide walks through the buying side in more detail.