By Ava Fit Care Editorial Team Last updated: September 5, 2026
Makeup can feel complicated fast. Scroll through enough tutorials and you’ll run into ten-step routines, a dozen brushes, and product names that don’t mean much if you’re just starting out. It’s easy to assume you need all of that just to look put together — but you really don’t.
A workable makeup for beginners routine comes down to a handful of products, applied in a sensible order, with a little practice over time. This guide covers what you actually need, the basic order most people apply things in, how to apply each product step by step, a genuinely quick everyday routine, how to keep your makeup looking natural, how to choose products for your specific skin type, and the mistakes beginners run into most often — along with simple ways to avoid them.
You don’t need to read this and immediately buy ten new products. Start with whatever makes sense for you, and build from there as you get more comfortable.
Affiliate Disclosure: Some links on this page are affiliate links, which means Ava Fit Care may earn a small commission if you make a purchase through them, at no extra cost to you.
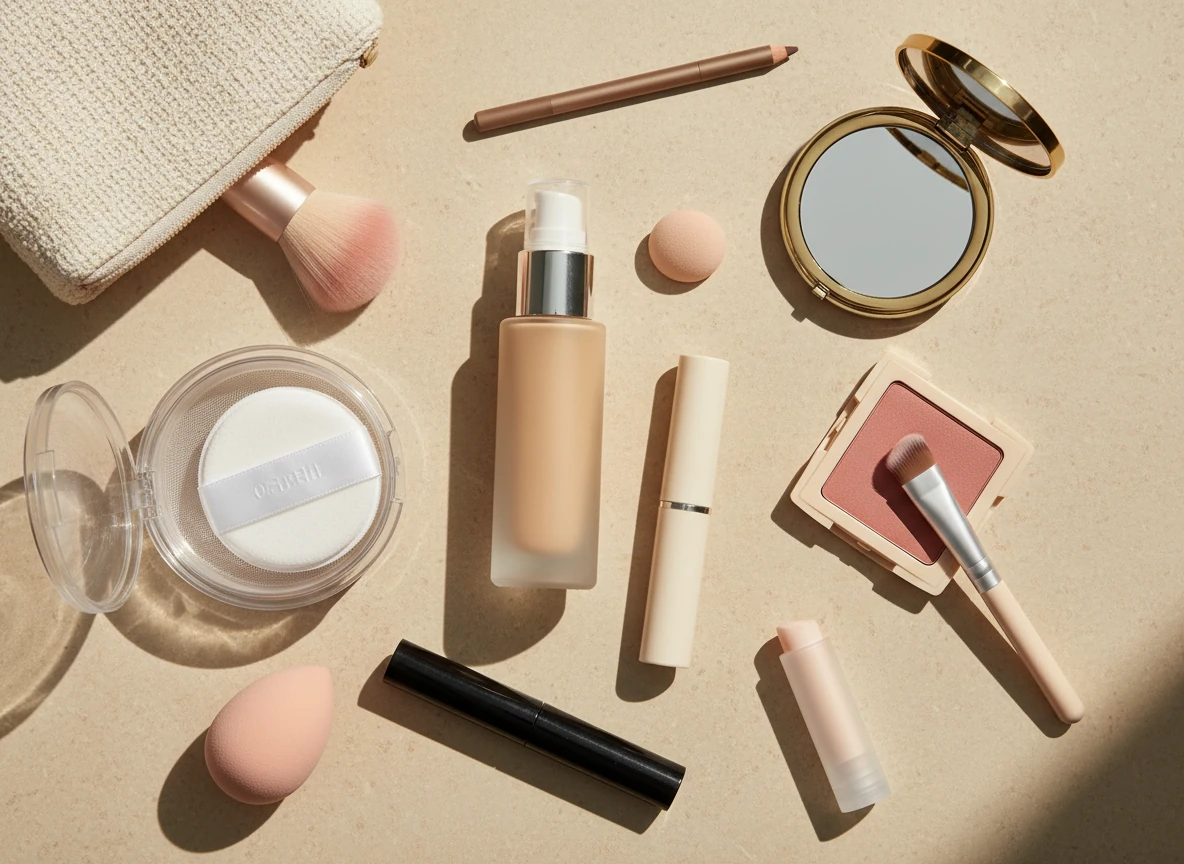
You don’t need a full collection to get started. Most beginner-friendly routines rely on a small set of products, with a few extras that are genuinely optional until you decide you want them.
Commonly useful: moisturizer, foundation or BB cream, concealer, setting powder, blush, mascara, a lip product, and a basic eyebrow product.
Optional, at least at first: primer, bronzer, contour, highlighter, eyeshadow, eyeliner, and setting spray.
None of the optional products are required to have a finished-looking routine — they add polish once you already have the basics down. Here’s a quick reference table for what each one actually does and how to prioritize it:
Product
What It Does
Beginner Priority
Moisturizer
Preps skin for smoother makeup application
Essential
Foundation or BB cream
Evens out overall skin tone
High
Concealer
Covers dark circles, redness, or blemishes
High
Setting powder
Reduces shine, helps makeup last
Medium
Blush
Adds natural-looking color to cheeks
Medium
Mascara
Defines and darkens lashes
High
Lip product
Adds color or moisture to lips
High
Brow product
Fills in and defines brows
Medium
Primer
Smooths skin, may extend wear
Optional
Bronzer
Adds warmth to the skin
Optional
Contour
Creates subtle shadow-like definition
Optional
Highlighter
Adds glow to specific areas
Optional
Eyeshadow
Adds color/definition to eyelids
Optional
Eyeliner
Defines the lash line
Optional
Setting spray
Helps makeup stay in place longer
Optional
If you’re only buying a few things to start, a tinted moisturizer or BB cream, concealer, mascara, and a lip product will get you a long way. Everything else can wait.
What Order Should You Apply Makeup?
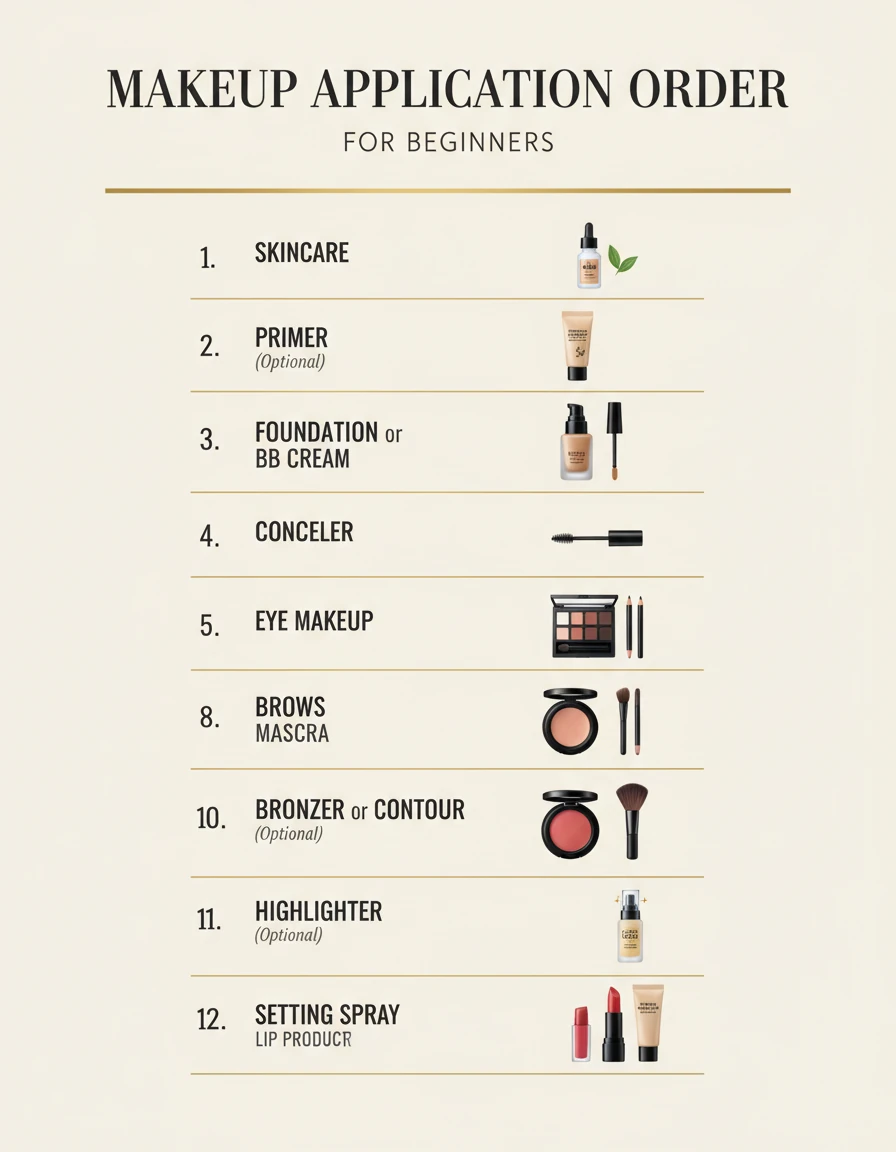
The basic makeup order most people follow is
skincare
primer (optional)
foundation or BB cream
concealer
powder
brows
eye makeup
mascara
blush
bronzer or contour (optional)
highlighter (optional)
lip product
setting spray (optional).
The logic behind this order is fairly simple. Skincare and primer create a smoother base. Foundation evens out your overall tone before you spot-treat specific areas with concealer, since it’s easier to see what actually still needs covering once your base is on. Powder sets those base products in place. Brows and eye makeup typically come next because any fallout (small flecks of eyeshadow, for example) can be cleaned up before you finish the rest of your face. Blush, bronzer, contour, and highlighter add color and dimension on top of your base, and lip product usually goes last since it’s the easiest thing to redo without disturbing anything else.
This isn’t an unbreakable rule, though. Some people prefer to do their eye makeup first, especially if they tend to have fallout or if they’re using a cream product that needs to set before powder touches it. Certain foundation formulas also blend better before or after concealer depending on their texture. If your routine works for you in a different order, there’s no reason to change it just to follow a guide.
Step-by-Step Makeup for Beginners
01
Start With Clean, Moisturized Skin
Makeup tends to apply more evenly over skin that isn’t dry, flaky, or freshly stripped by harsh cleansers. A simple skincare routine — cleanser, moisturizer, and sunscreen during the day — gives makeup a more comfortable surface to sit on and can help it look less patchy.
What your skin actually needs will depend on your individual skin type and concerns, so it’s worth taking a few minutes to figure that out before you settle on products — our skincare routine for beginners guide covers the basics.
Give your moisturizer a minute or two to absorb before starting your makeup. Applying foundation over skin that’s still damp with product can make it slide around more than it needs to.
02
Apply Primer (Optional)
Primer is a lightweight product applied after moisturizer and before foundation. Some people like how it smooths the skin’s texture, helps foundation glide on more easily, or extends how long makeup lasts through the day.
That said, primer is genuinely optional, especially for beginners. If your skin already feels comfortable and your foundation applies fine without it, there’s no need to add another product just because it’s a common step in tutorials. Skipping it also means one less layer to blend and one less product to buy while you’re figuring out what you actually like.
03
Apply Foundation or BB Cream
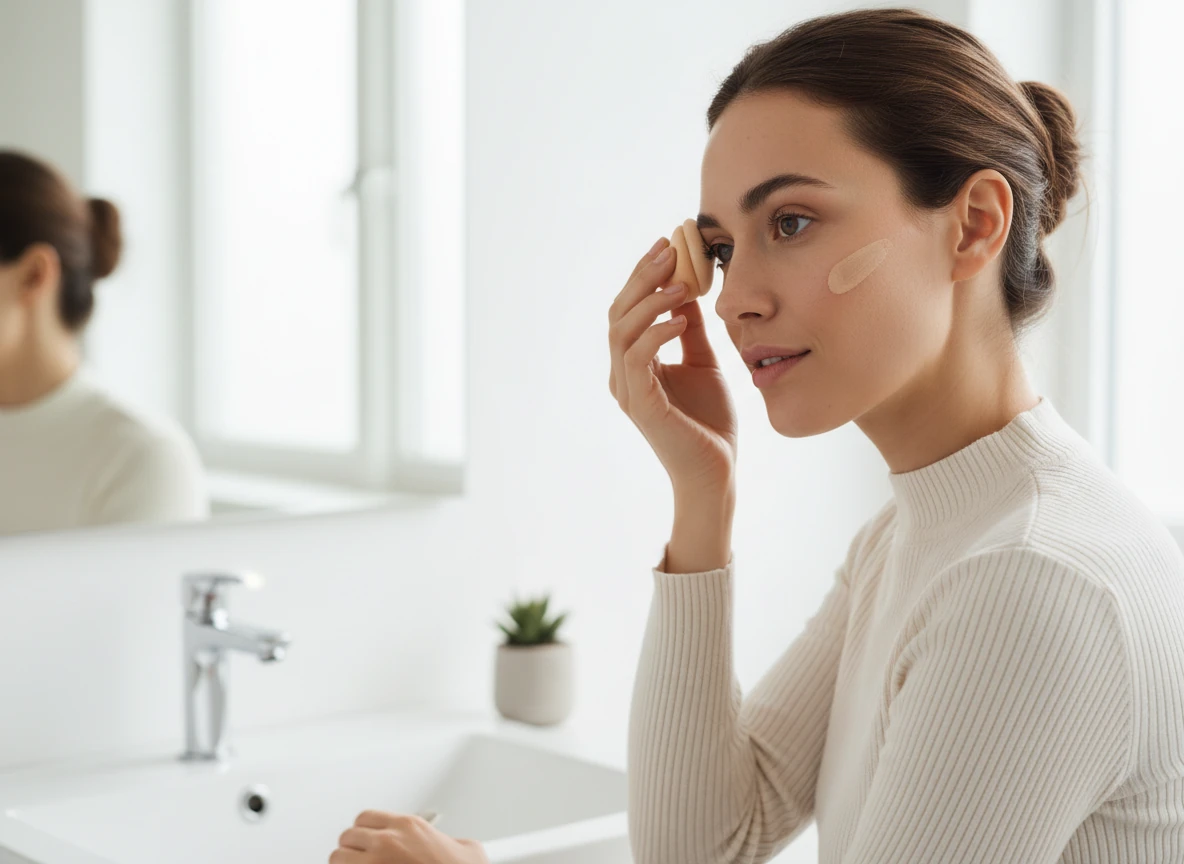
Start by choosing a shade that’s close to your actual skin tone — testing along your jawline in natural light is one of the more reliable ways to check a match. BB cream is generally lighter coverage and easier to blend for beginners, while foundation offers a wider range of coverage levels.
Apply a small amount first; you can always add more, but it’s harder to take product away once it’s on. Starting from the center of your face and blending outward toward your hairline and jawline tends to give the most natural-looking result, since it avoids a harsh line where the product stops.
Build coverage gradually in thin layers. Foundation doesn’t need to completely erase your natural skin texture to look finished — a bit of texture showing through is normal.
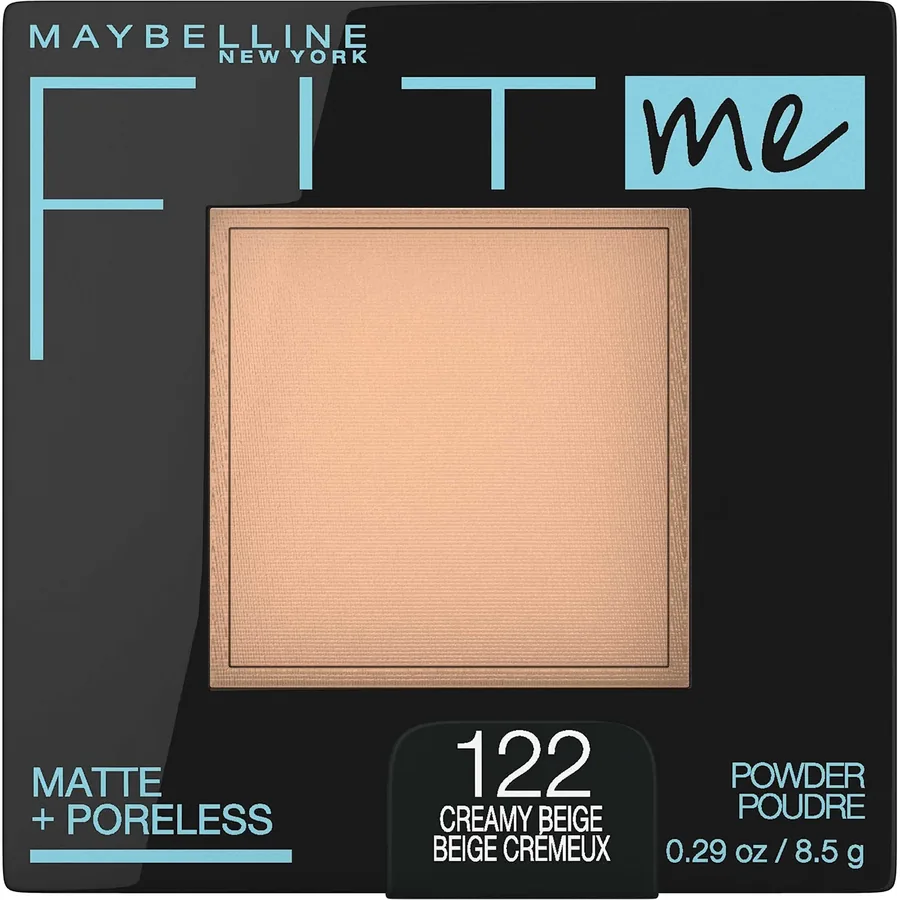
Beginner Pick
Maybelline Fit Me Matte + Poreless Pressed Powder
If you’re looking for an affordable pressed powder option with a broad shade range, this is one product worth exploring for a beginner makeup routine.
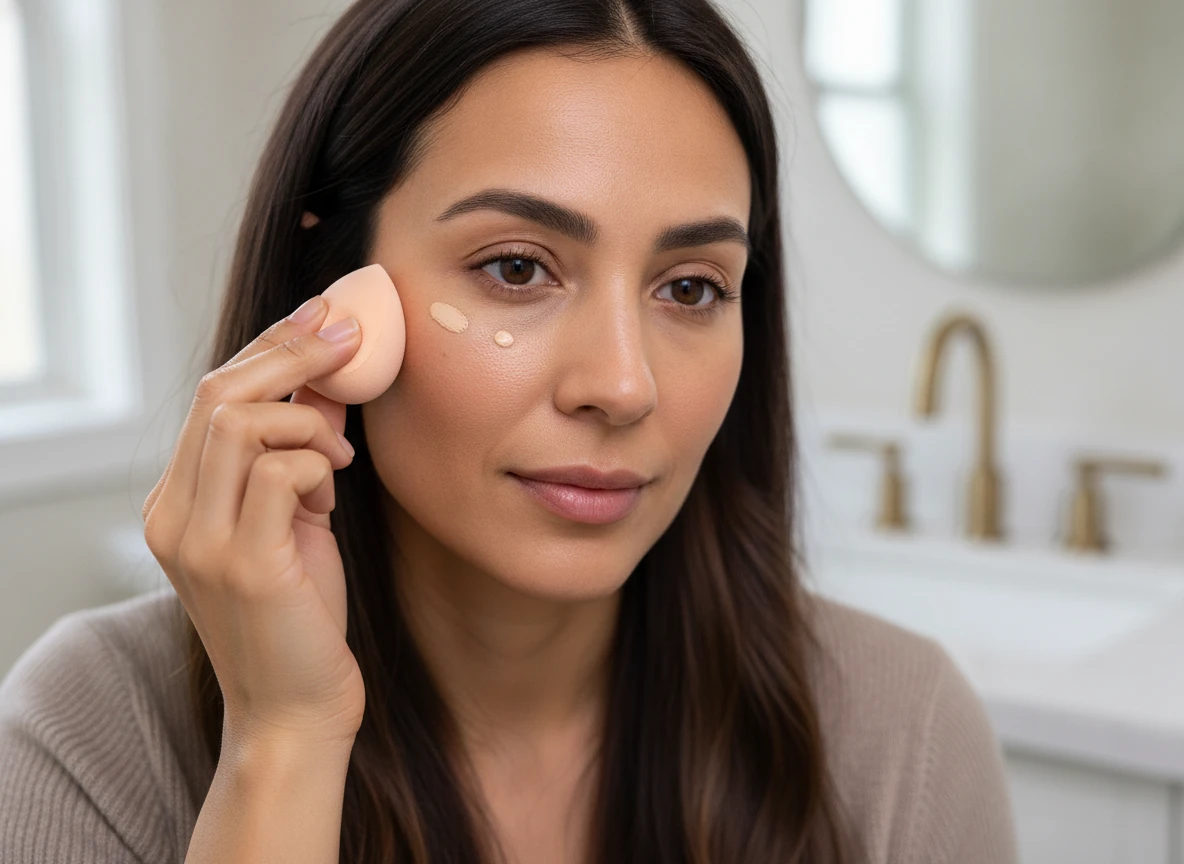
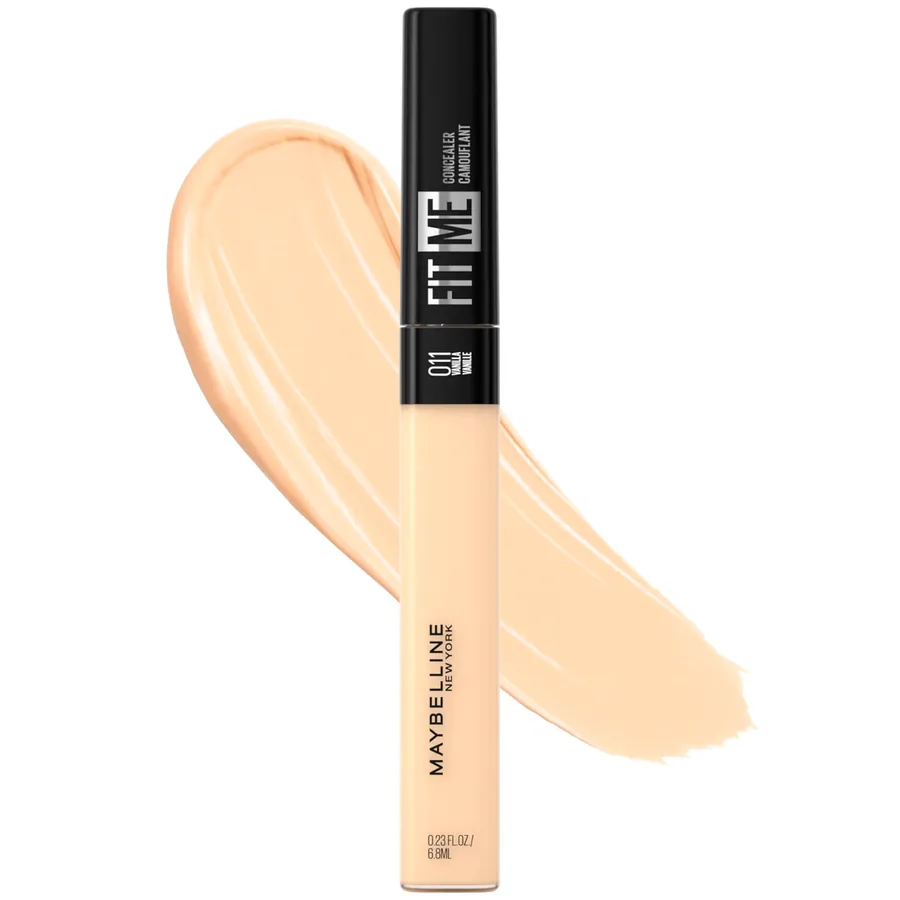
Concealer is meant for specific areas — under the eyes, around blemishes, or over redness — rather than the whole face. A small amount, patted gently rather than rubbed, usually blends more naturally than a thick layer dragged across the skin.
Under the eyes, light, targeted product placed only where you need coverage — rather than dabbed heavily along the whole lash line — tends to brighten the area more naturally. For blemishes, apply directly to the spot and blend just the edges.
More concealer doesn’t automatically mean better coverage — past a certain point, extra product tends to sit in fine lines instead of covering anything additional.
Beginner Pick
Maybelline Fit Me Concealer
A simple option to explore for targeted coverage on areas such as blemishes or under the eyes.
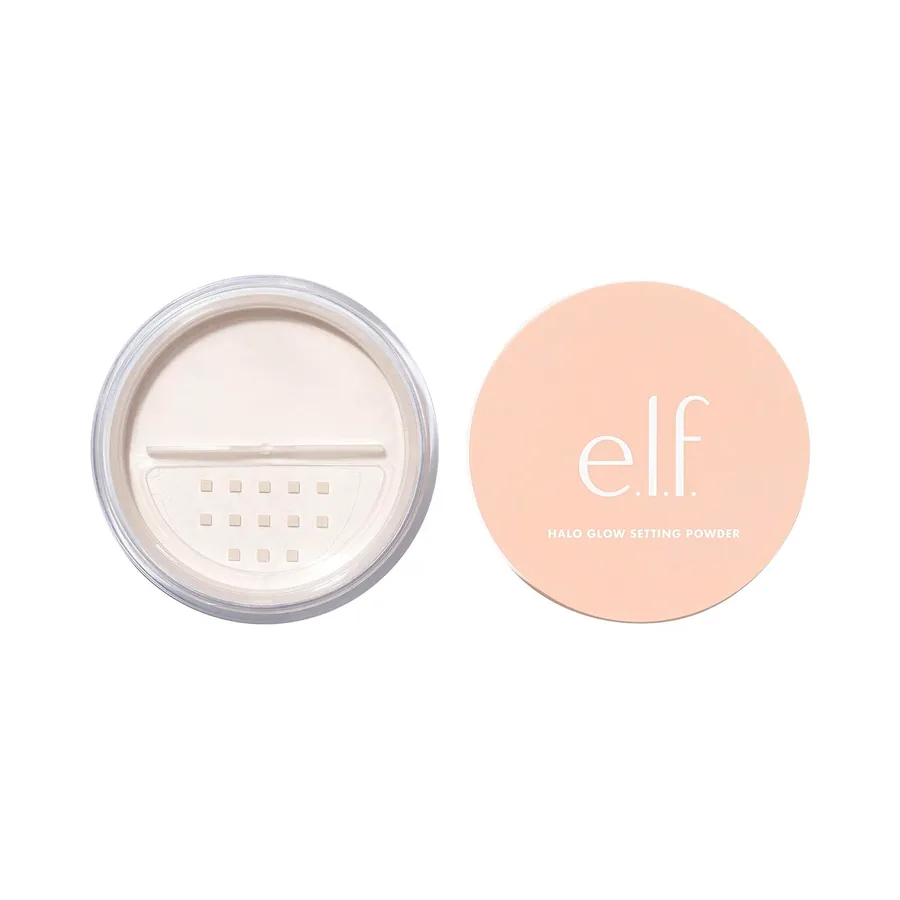
Setting powder is typically applied over areas that get oily or shiny throughout the day, like the T-zone (forehead, nose, and chin), and sometimes lightly under the eyes to help concealer stay put.
How much powder you need can vary quite a bit depending on your skin. Oilier skin often benefits from a bit more, especially in the T-zone, while drier skin may only need a light dusting — or none at all — since too much powder can settle into dry patches and make them more noticeable. There’s no single right amount; it’s worth adjusting based on how your skin behaves. If oily skin is an ongoing concern beyond makeup, our skincare routine for oily skin guide covers the basics.
Using too much powder overall is a common way makeup starts to look heavy or flat, so a light hand is usually the safer starting point.
Beginner Pick
e.l.f. Halo Glow Loose Setting Powder
A lightweight loose powder option to consider when you want to set makeup while keeping the finish looking soft and natural.
Brows frame the whole face, but they don’t need heavy, drawn-on shapes to look finished. Following your natural brow shape and lightly filling in any sparse areas — usually with a brow pencil, powder, or gel — tends to look more natural than trying to create a completely different shape.
Short, hair-like strokes rather than solid lines help mimic the look of real brow hairs. It’s easy to go too dark or too blocky when you’re first learning, so starting light and building up gradually gives you more control.
07
Add Simple Eye Makeup
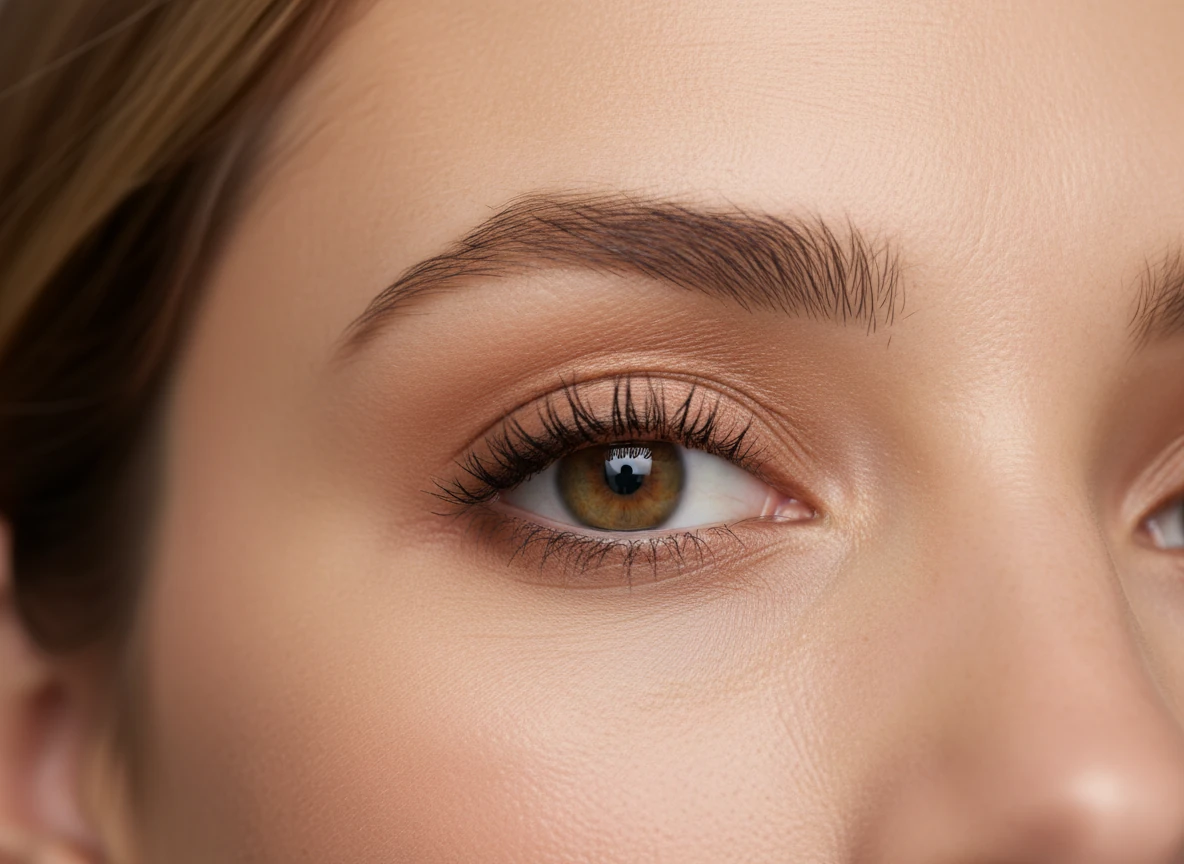
For a beginner-friendly approach, one neutral eyeshadow shade swept across the lid, optional eyeliner along the lash line, and mascara is usually enough for an everyday look. You don’t need to master blending three or four shades together or learn a full cut crease to have eye makeup that looks nice.
If eyeliner feels tricky at first, even a few small dots along the lash line that you connect afterward can make the line easier to control than trying to draw it in one smooth stroke. See our Eye Makeup for Beginners guide for more detail.
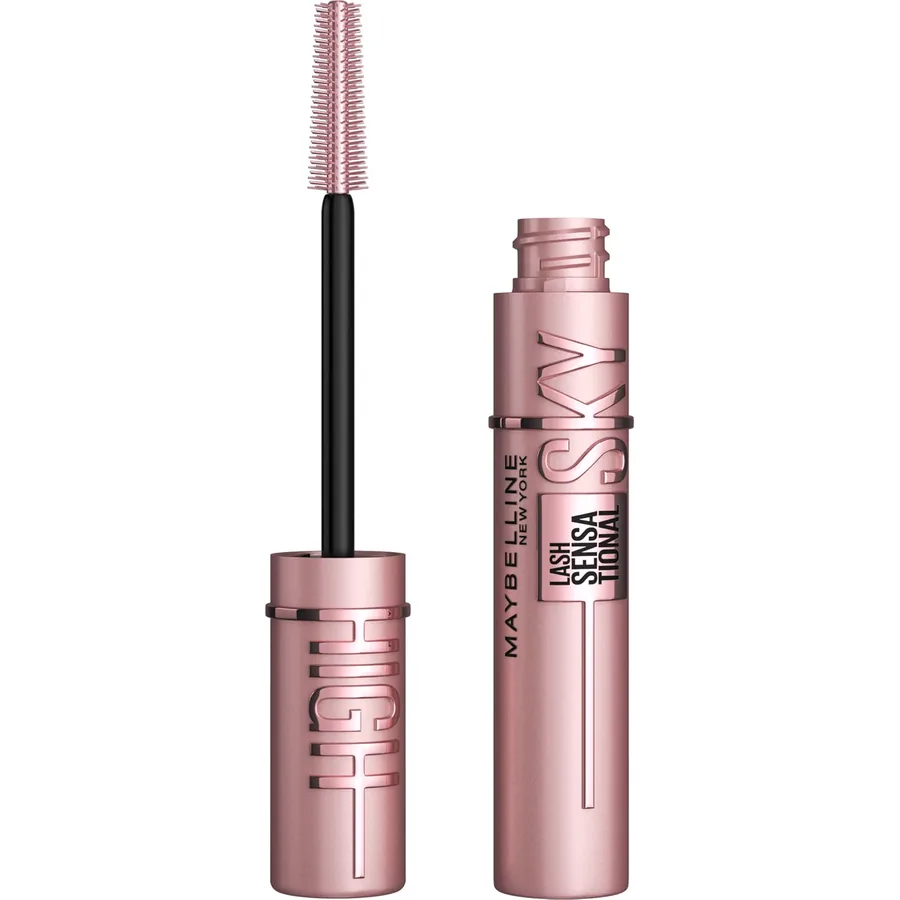
Beginner Pick
Maybelline Lash Sensational Sky High Mascara
A popular everyday mascara option to consider if you want to add definition to your lashes without making your eye routine complicated.
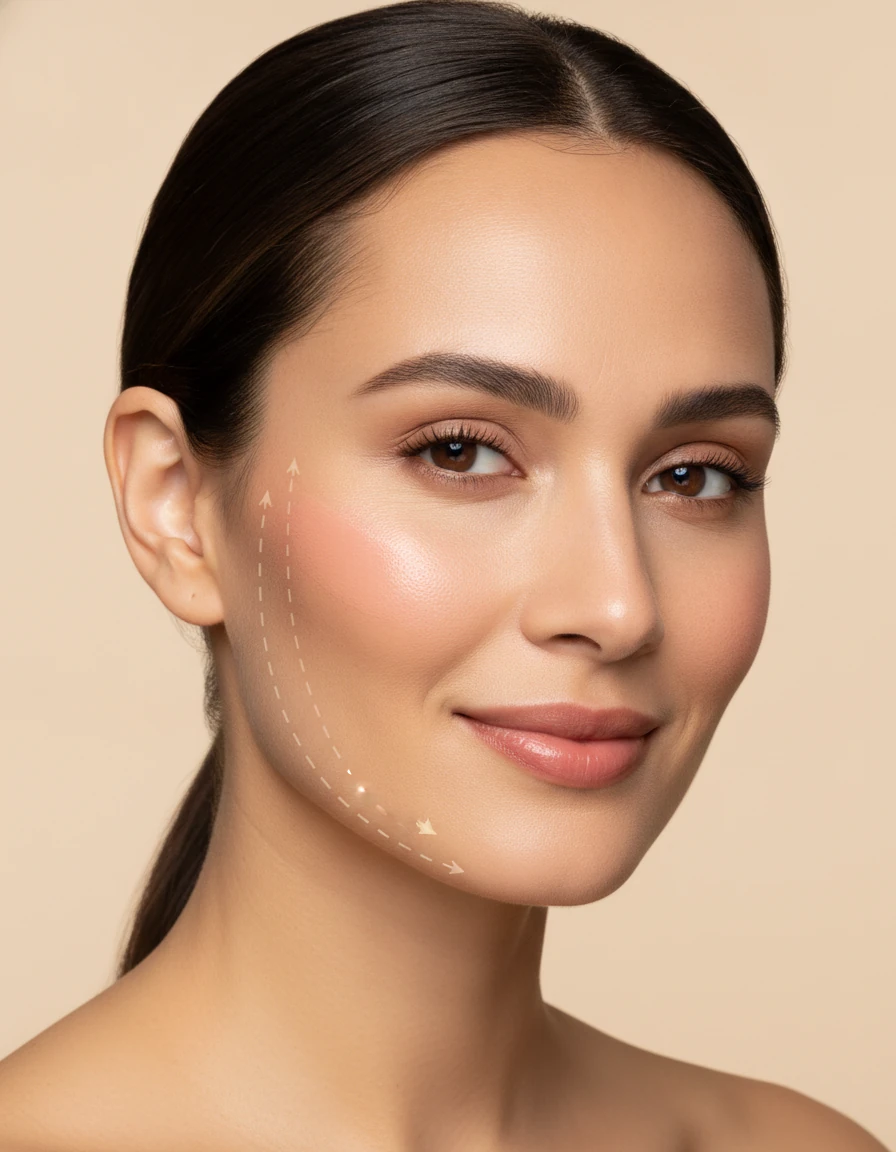
Blush adds a bit of natural-looking color and warmth to the face, which can make skin look a little more awake, especially if you’re wearing a fuller-coverage foundation that’s evened things out. Start with a small amount on the back of your hand or the brush, then build up gradually — it’s much easier to add more than to remove excess.
Where you place it can vary depending on your face shape, but applying to the apples of your cheeks and blending upward toward the temples is a reliable starting point for most people. Blending the edges well helps it look like a natural flush rather than a distinct patch of color. See our How to Apply Blush for Your Face Shape guide for placement by face shape.
Beginner Pick
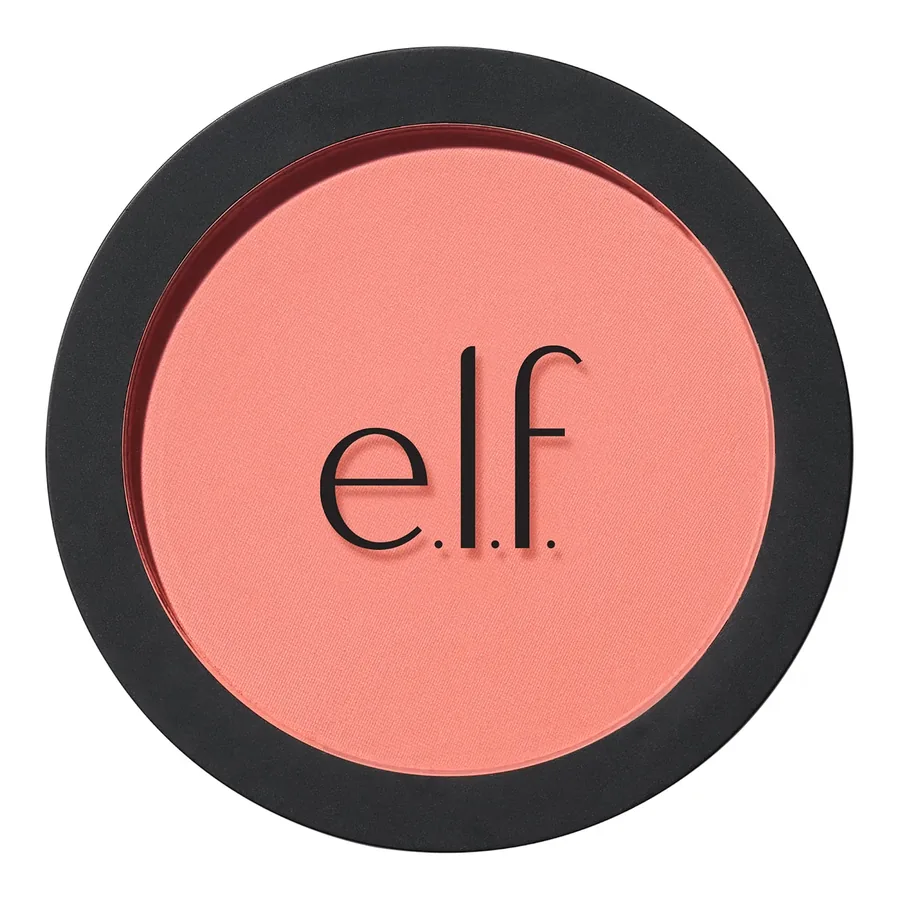
e.l.f. Putty Blush
A buildable cream-to-powder blush option to explore if you want an easy-to-blend cheek color for an everyday makeup look.
Bronzer and contour are often confused, but they do different things. Bronzer generally adds an overall warmth to the skin, similar to a subtle sun-kissed tone, and is usually applied where the sun would naturally hit your face. Contour is typically used to create the appearance of definition through shadow-like placement, often along the hollows of the cheeks, the sides of the nose, or the jawline.
Both are entirely optional, and neither will change your actual face shape — they’re about creating a visual effect with color and shadow, not a structural change. If you’re just starting out, it’s completely fine to skip both and add them later once you’re comfortable with the rest of your routine.
10
Apply Lip Product
There are several beginner-friendly options depending on how much color or coverage you want: a plain lip balm for light hydration, a tinted lip balm for a hint of color, lip gloss for shine, lipstick for fuller color, and lip liner to help define the shape or keep lipstick from feathering.
For a simple application, start in the center of your lips and work outward, and blot with a tissue if you want a longer-lasting, less glossy finish. If you’re new to lip liner, lining just inside your natural lip line first is usually easier to control than trying to match it exactly on the first try.
Beginner Pick
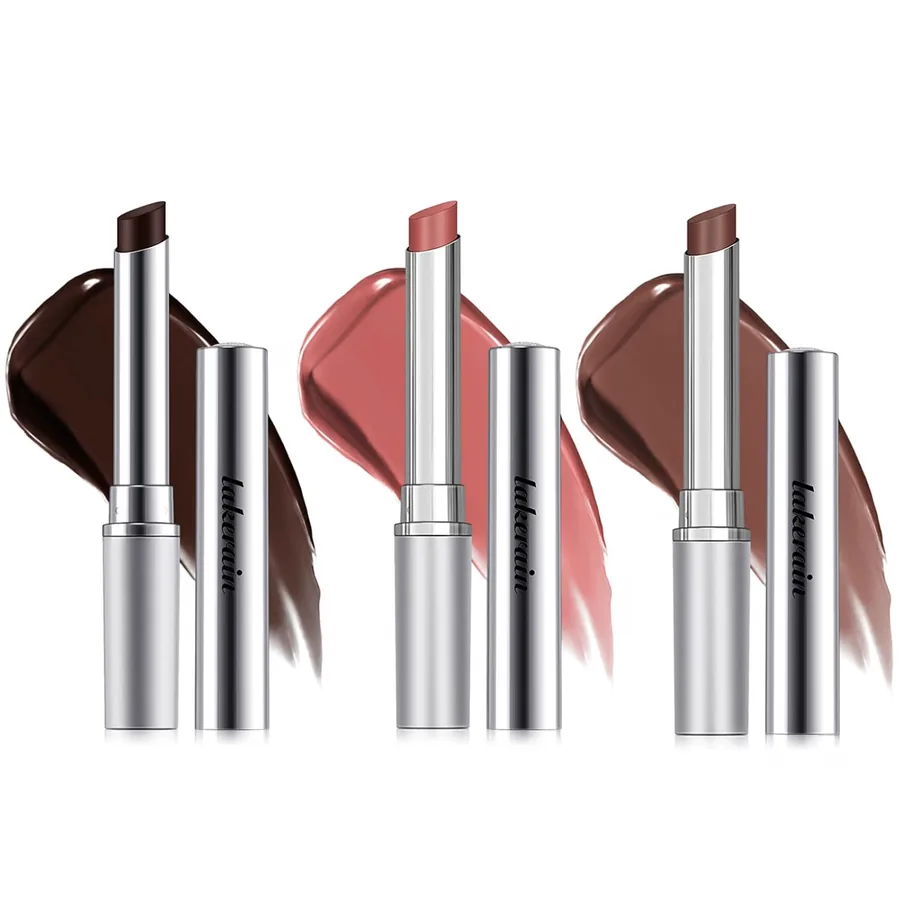
Lakerain Tinted Lip Balm Trio
If you prefer a simple, sheer lip balm over a full lipstick routine, this tinted lip balm set is an easy option to consider for an everyday look.
Setting spray is a fine-mist product applied at the very end that some people use to help makeup stay in place longer. It’s optional, and plenty of people skip it entirely without any issue — don’t feel like your routine is incomplete without it.
A Quick Everyday Makeup Routine
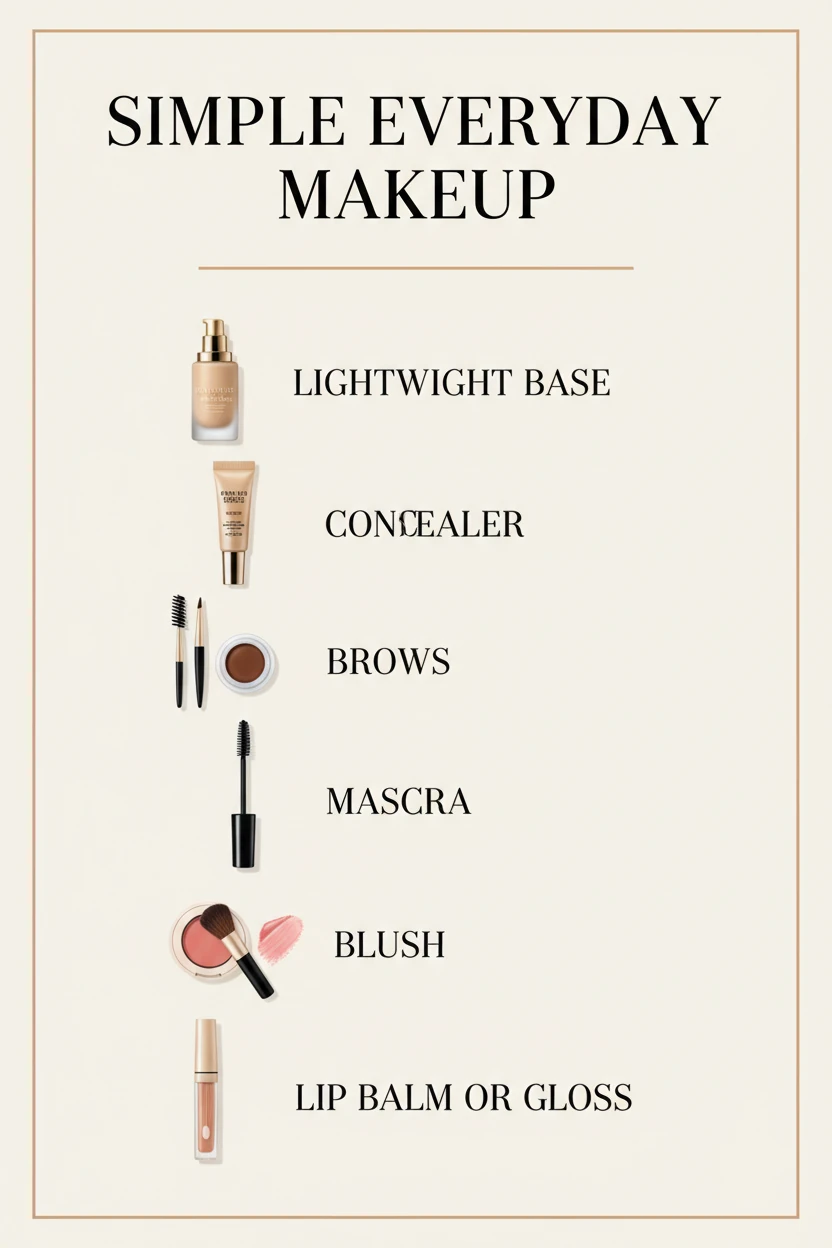
When you’re short on time, you don’t need to skip makeup altogether — you just need to prioritize. A realistic everyday routine looks something like this:
Lightweight base or BB cream
Concealer where you need it
Fill in brows
Mascara
Blush
Lip balm or gloss
This skips powder, eyeshadow, eyeliner, bronzer, contour, highlighter, and setting spray — all things that add polish but aren’t essential for a quick, put-together look. Once you’re familiar with the steps, a routine like this can come together fairly quickly, though exactly how long it takes will depend on you, your comfort level, and how many products you’re using. Treat it as a realistic, simplified routine rather than a race against the clock.
How to Create a Natural Makeup Look
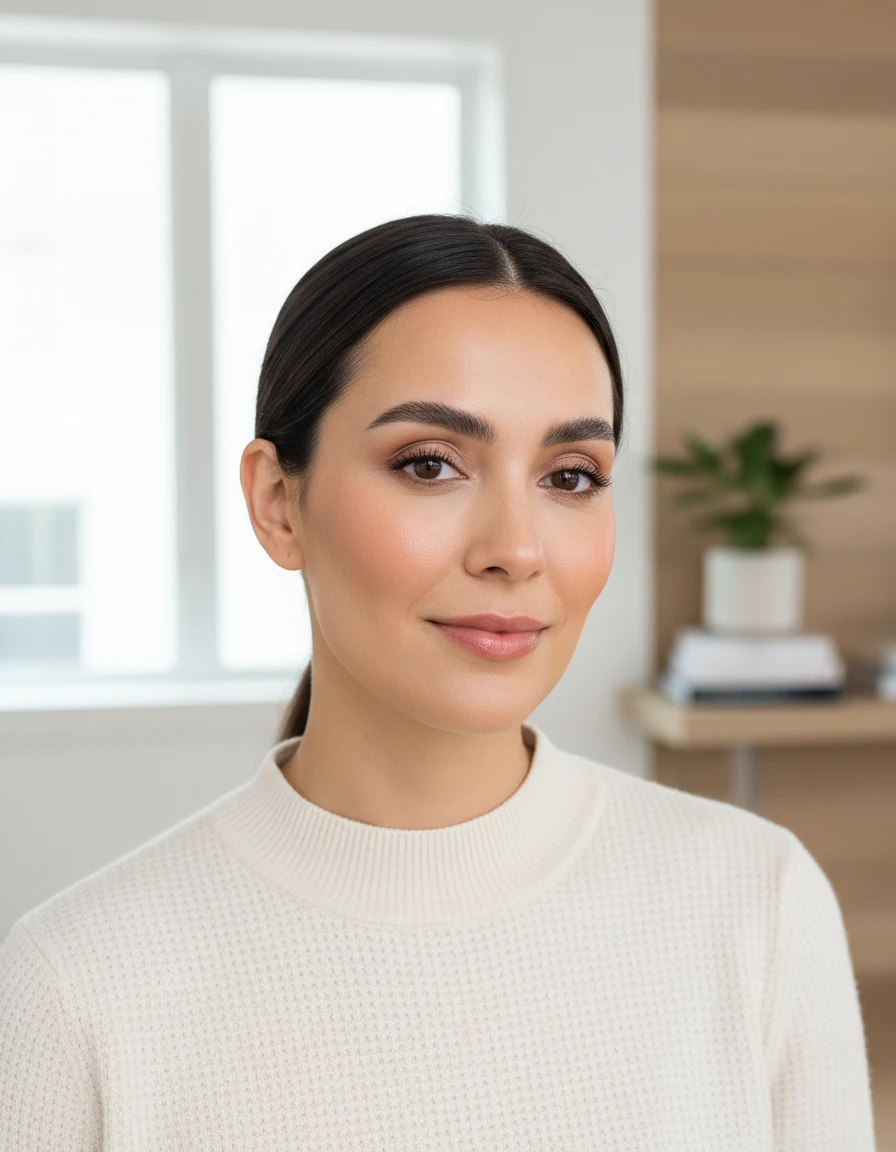
A natural makeup look isn’t about wearing no makeup — it’s about wearing makeup that doesn’t look heavy or obvious. A few things help with that:
A lightweight base, like a tinted moisturizer or BB cream, rather than a full-coverage foundation.
Minimal concealer, used only where you actually need it rather than across the whole under-eye area.
Soft blush, blended well so it fades into the skin rather than sitting as a defined circle of color.
Natural-looking brows, filled in lightly rather than drawn as solid, sharp shapes.
A coat or two of mascara, without heavily layering it into a thick, clumpy finish.
A subtle lip color, closer to your natural lip tone than a bold, high-contrast shade.
The goal is an everyday, polished look — not a heavily made-up appearance. This tends to work well for daytime, work, or any setting where you want to look put together without it being obvious you’re wearing much at all. See our Natural Makeup Look for Beginners guide for more on this look.
How to Choose Makeup for Your Skin Type
Your skin type can affect which product textures and finishes tend to work better for you. This is general guidance, not a medical recommendation — if you have a diagnosed skin condition, it’s worth checking with a dermatologist about specific product choices.
Skin Type
General Makeup Considerations
Oily skin
Lightweight, oil-free, or matte-finish formulas tend to hold up better through the day; powder can help manage shine in the T-zone.
Dry skin
Hydrating, dewy, or cream-based formulas tend to sit better than heavy powders, which can cling to dry patches.
Combination skin
A mix of approaches often works well — for example, more coverage or powder in the T-zone and lighter product on the cheeks.
Normal skin
Most formulas and finishes tend to work reasonably well; this is often the most flexible skin type to shop for.
Sensitive skin
Check ingredient lists before trying new products, introduce one new product at a time, patch test on a small area first, and stop using anything that causes irritation, redness, or discomfort.
If you’re unsure which category best describes your skin, that’s completely normal — skin can behave differently depending on the season, your routine, or even the week.
Common Makeup Mistakes Beginners Make
Everyone makes some of these when they’re starting out — the point isn’t to feel bad about it, just to know what to adjust.
1
Using too much foundation
Start with a small amount and build up in thin layers instead of applying a thick layer all at once.
2
Choosing the wrong foundation shade
Test shades along your jawline in natural light rather than under indoor lighting or on the back of your hand.
3
Skipping skin preparation
A few minutes of cleanser and moisturizer beforehand can make a noticeable difference in how evenly makeup applies.
4
Applying too much concealer
Use a small amount and build up only where you actually need coverage.
5
Using too much powder
Apply lightly, focusing mainly on areas that get oily, rather than dusting your entire face heavily.
6
Overdoing contour
Start with a small amount and blend thoroughly — contour that isn’t blended well can look like a visible stripe rather than natural shadow.
7
Applying too much blush
Build up gradually with a light hand; it’s easier to add more than to tone it down.
8
Not blending properly
Take an extra minute to blend the edges of your base products so there’s no visible line where product starts or stops.
9
Buying too many products too soon
Start with a small set of essentials and add more only once you know what you actually reach for.
10
Copying every viral makeup trend
What works on someone else’s face or skin tone may not translate the same way to yours — it’s fine to skip trends that don’t suit you.
11
Using dirty makeup tools
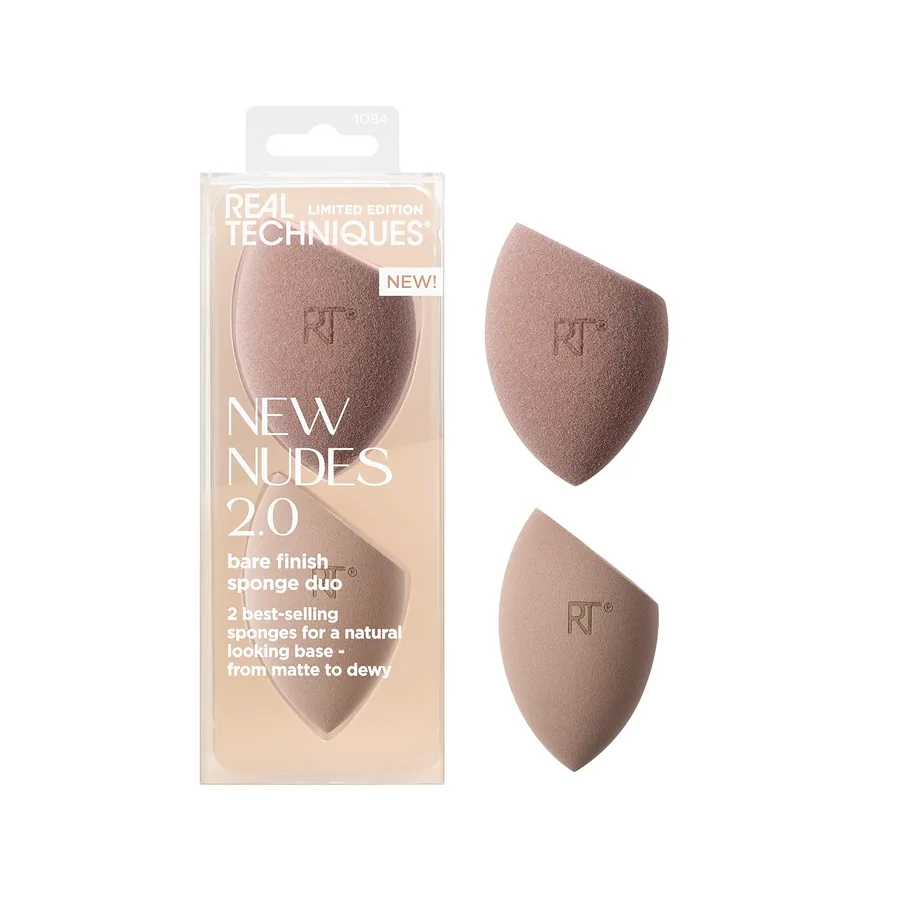
Clean brushes and sponges regularly so product applies more smoothly and evenly.
12
Forgetting to remove makeup properly
Take the time to fully remove makeup before bed rather than rinsing quickly with just water.
Beginner Makeup Tips That Actually Help
Start with fewer products and add more only once you’re comfortable with the basics.
Build coverage gradually rather than applying everything heavily the first time.
Use natural or good-quality lighting when matching foundation and concealer shades.
Practice a look once or twice before wearing it somewhere important, like an event or interview.
Learn what actually works for your own features rather than copying every trend you see online.
Keep reusable tools like brushes and sponges clean.
Follow the instructions or usage guidance that comes with a product, especially for anything applied near the eyes.
Pay attention to how long you’ve had a product and any guidance about when to replace it.
Don’t chase a “perfect” result on your first few tries — this is a skill that improves with repetition.
Focus on getting comfortable with technique before buying more products.
Frequently Asked Questions
A lightweight base like BB cream or tinted moisturizer, a concealer, mascara, and a lip product are usually enough to start. You can add powder, blush, and eye products once you’re comfortable with the basics.
Skincare, primer (optional), foundation or BB cream, concealer, powder, brows, eye makeup, mascara, blush, bronzer or contour (optional), highlighter (optional), lip product, and setting spray (optional). Personal preference can shift this slightly.
Yes. Primer can help some formulas apply more smoothly or last longer, but it’s entirely optional, especially for beginners.
Foundation typically goes first, since it evens out your overall skin tone and makes it easier to see exactly where you still need extra coverage from concealer.
Use lightweight products, apply thin layers, blend thoroughly, and stick to shades close to your natural coloring rather than high-contrast, heavily built-up looks.
It varies from person to person. A simple everyday routine can become fairly quick once you’re comfortable with the steps, but there’s no fixed amount of time you need to aim for.
Cream and liquid products, like BB cream, cream blush, and tinted lip balm, are generally more beginner-friendly than powder products, which can be trickier to blend smoothly at first.
No. A lightweight tinted moisturizer or BB cream is a common starting point, and some people choose to skip a base product altogether depending on their skin and preference.
Starting with clean, moisturized skin, setting your base with a light layer of powder, and optionally finishing with setting spray can all help makeup hold up longer through the day.
Use a makeup remover, cleansing balm, or micellar water to break down products, followed by your regular cleanser, rather than rinsing with just water.
Final Thoughts
You don’t need a huge collection of products to wear makeup you feel good in. A few basics, applied thoughtfully, are enough to get started — the rest comes down to practice rather than buying more. As you get more comfortable with the fundamentals here, it’s worth exploring specific techniques in more depth, from foundation application to eye makeup to building your own natural everyday look, so you can shape a routine that actually fits your face and your schedule.